What's inside
As an Amazon Associate I earn from qualifying purchases. This post may contain affiliate links at no extra cost to you.
Alder and cherry can both produce a warm, attractive stained finish, but they behave differently under stain. Alder is usually the less expensive, easier-to-source choice for a light-to-medium brown color. Cherry has a finer, more refined appearance, but it darkens naturally with age and can show blotchy stain, especially when a dark color is applied without careful preparation.
As an Amazon Associate we earn from qualifying purchases at no extra cost to you.


Our Top Picks

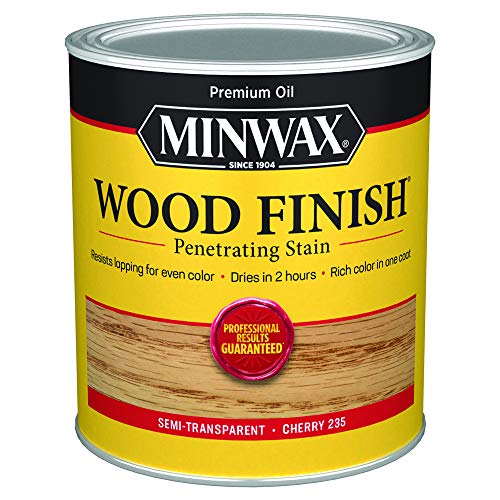

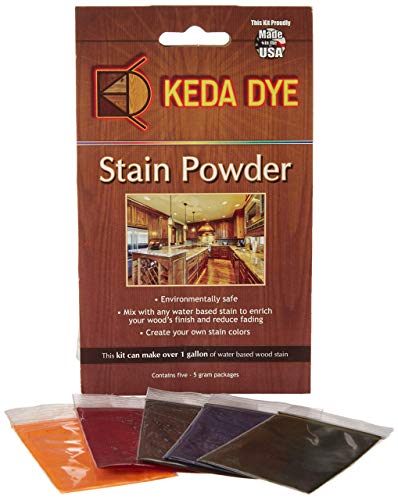
Quick comparison
| Factor | Alder | Cherry |
|---|---|---|
| Typical appearance | Light tan to reddish brown, often with visible color variation | Light pinkish brown when fresh; deepens to reddish brown with age and light exposure |
| Stain behavior | Absorbs readily and can blotch, particularly on soft or uneven areas | Fine, smooth grain, but can also take stain unevenly; dark stains may obscure its natural character |
| Best fit | Budget-conscious projects and medium-brown finishes | Visible furniture parts where the natural color and aging are part of the appeal |
| Main trade-off | Color variation between boards and uneven absorption | Higher cost, natural darkening, and a need to test the final color carefully |
How the woods take stain
Neither species guarantees an even finish straight from the can. Both can absorb pigment or dye at different rates across a board. Alder is especially variable: a soft patch, end grain, or change in grain density may turn much darker than the surrounding surface. Cherry is often more uniform in texture, but it can still develop dark patches or a washed-out look if stain is applied unevenly.
The stain type matters. Pigment stains tend to emphasize differences in absorption and can muddy fine grain when applied heavily. Dye stains color the wood more evenly and let grain show, but they can raise the color quickly and are harder to correct once too dark. Gel stains sit closer to the surface and can reduce dramatic absorption differences, though they may look less like a traditional penetrating stain.
Which should you buy?
Choose alder if the project is a cabinet face frame, shelving, trim, or furniture where a warm brown finish matters more than a highly uniform, premium-looking grain. It is often the practical choice when you can select boards in person and use a sample finish to match them. The cheaper option is fine for many painted or stained household projects; paying more for cherry does not automatically produce a better-looking stain job.
Choose cherry if the wood itself will be prominent and you want a fine grain that gains depth over time. It is often best finished with clear or lightly tinted topcoat rather than a dark stain. Cherry can shift noticeably with light exposure, so a fresh sample may not match the piece after months near a window. If a stable, uniform color is essential, test a finished sample and keep it where it will receive similar light.
If you are comparing boards, inspect the actual stock rather than relying only on a species name. Look for sapwood, knots, streaks, and abrupt grain changes. A matched set of boards is more likely to finish consistently than a random bundle. For a stain-heavy project, buy enough material from the same batch to avoid color differences between later purchases.
Prepare and test before staining
Sand with the grain and keep the final grit consistent across every visible surface. For most furniture and cabinetry, finish at 180 or 220 grit; sanding much finer can reduce stain absorption and leave a lighter result. Do not use 120 grit on one area and 220 on another, since the coarser patches can take more color. Vacuum thoroughly, then remove remaining dust with a clean cloth suited to your finish system.
Make a test board from the same species and, ideally, the same stock as the project. Sand it using the exact sequence, apply any conditioner or sealer, then stain and topcoat it. A stain-only sample can look quite different from the finished surface once clearcoat adds depth. Test more than one application time and wipe-off method; a few extra minutes can change the color substantially.
For alder that shows blotching, a wood pre-stain conditioner can narrow the contrast. Follow its label closely: some products need stain applied within a specified window, and excess conditioner can make the surface too sealed, producing a pale or weak color. A washcoat—a thin, compatible coat of finish or sealer—can also limit absorption, but it takes testing to avoid making the stain look flat.
Application and common failures
Stir pigment stain thoroughly; do not shake it, which can introduce bubbles. Apply a manageable area at a time, keep a wet edge, and wipe off excess evenly with clean cloths. Wear gloves and dispose of oil-stain rags safely according to the product label; piled-up oil-soaked rags can heat up and ignite. Let the stain dry for the full time stated by the manufacturer before applying a clear finish. Trapping solvent or oil under a topcoat can leave a tacky surface for days.
If alder turns darker in patches, the usual causes are uneven sanding, end grain, or inconsistent conditioner coverage. Do not try to fix a blotchy wet stain by rubbing only the dark spots; that can leave a visibly scrubbed area. Let the stain dry, then follow the stain maker’s removal or recoating guidance. On the next sample, use a more even sanding sequence, apply conditioner uniformly, or switch to a gel or dye system.
If cherry looks too dark, remember that it will deepen naturally over time. A lighter stain or clear finish may age closer to the color you want than a dark stain applied to fresh wood. If a stronger, more predictable color is the priority, test a wood dye stain and a compatible clear topcoat on scrap before committing.
Choose the finish with the stain
A clear water-based topcoat usually changes the wood color less than many oil-based finishes, which can add an amber cast. That cast may suit alder’s warmth but can push cherry toward a redder, darker appearance. Either type can work; compatibility, durability, and the sample result matter more than a blanket rule about one being better. For a work surface, prioritize the topcoat’s wear resistance and follow its recoat instructions. For a decorative piece, a lower-build finish may preserve more of the wood’s natural look.
When even color is the main goal, buy a small amount of the intended stain and finish, make a full test panel, and judge it after it dries. Alder is the sensible value choice when its board-to-board variation is acceptable. Cherry earns its higher cost when its grain and gradual color change are features you want to keep visible.



0 Comments