What's inside
As an Amazon Associate I earn from qualifying purchases. This post may contain affiliate links at no extra cost to you.
A deep, pore-filled walnut finish depends as much on the wood’s pore structure as on the stain color. Open-grained species accept dark filler into their pores, creating the contrasting lines associated with traditional walnut furniture. Close-grained woods can still be colored walnut, but they will look more uniformly brown and will not develop the same filled-pore character.
As an Amazon Associate we earn from qualifying purchases at no extra cost to you.



Our Top Picks
 Varathane Total Control Dark Walnut Gel StainHalf Pint (Pack of 1)2.88 x 2.88 x 2.97 inchesCheck on Amazon
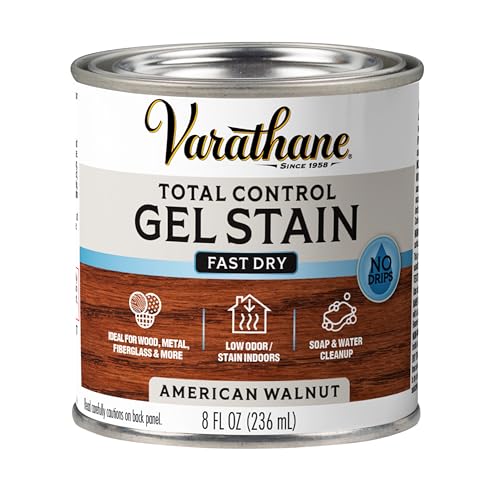 Varathane Total Control American Walnut Gel StainHalf Pint (Pack of 1)2.88 x 2.88 x 2.97 inches0.6 poundsCheck on Amazon
 Minwax 233334444 Polycrylic Protective Wood Finish8 fl oz2.9 x 2.9 x 3 inches0.66 poundsCheck on Amazon


The best wood species for a deep walnut look
Red oak is usually the best value. Its large, open pores take tinted filler readily, and its strong grain remains visible under a dark brown finish. Red oak’s natural pink and salmon tones can push walnut stain warmer than expected, so choose a walnut-brown filler with a neutral or slightly cool undertone. Red oak is a good choice for tables, shelves, trim, and painted-or-stained furniture where cost matters.
White oak produces a more restrained, furniture-like result. It has open pores, but its natural color is less pink than red oak, making it easier to achieve a dark walnut brown without an orange cast. Quarter-sawn white oak also shows distinctive ray fleck, which may or may not suit the project. It costs more than red oak, but it is often the better choice when the finished piece will be compared closely with real walnut.
Ash has deep, prominent pores and a bold grain that accepts filler well. It can make an especially dramatic dark finish, though the grain may look busier than walnut. Ash is structurally useful for furniture parts and is often cheaper than walnut. Use a sanding sealer carefully if you want less contrast between earlywood and latewood.
Mahogany, particularly genuine or African mahogany, has a naturally warm brown-red color and a medium-to-open pore structure. A dark walnut filler can produce a rich, formal appearance, but the result will usually be redder and less gray-brown than actual walnut. Mahogany is a good premium substitute when you want depth and warmth rather than a convincing imitation.
American walnut is the authentic option, but it is not always the easiest wood to darken. Its pores are smaller and less sharply defined than red oak or ash. Dark filler can make walnut look muddy if applied heavily. Often the best treatment is a clear finish or a lightly tinted toner, rather than dark stain. Walnut also varies considerably between sapwood and heartwood, so boards may need to be matched before finishing.
How the common choices compare
| Species | Pore size | Walnut-color result | Typical trade-off |
|---|---|---|---|
| Red oak | Large and open | Dark, strongly grained, often warm | Affordable, but can look orange |
| White oak | Open and fairly even | Convincing neutral-to-brown walnut | Costs more; rays may show |
| Ash | Large and open | Very strong pore contrast | Grain can look busier than walnut |
| Mahogany | Medium to open | Deep, warm, reddish walnut | Premium price and red undertone |
| Poplar | Small and closed | Flat brown with little pore definition | Cheap, but better for paint than stain |
What “pore-filled” actually means
A pore-filled finish is not simply a dark stain. A paste filler is worked across the surface and forced into the pores, then the excess is scraped or wiped away. After it dries, sanding leaves the filler in the recesses while exposing the surrounding wood. A dark filler followed by a medium-brown stain creates dark grain lines and a walnut-like depth.
For this job, choose a walnut-tinted wood grain filler or a neutral filler that can be tinted. Oil-based fillers generally provide a longer working time; water-based fillers dry faster and produce less odor but can raise the grain. Either type can work if the sample board is allowed to dry completely before judging it.
Do not confuse pore filler with ordinary wood putty. Putty repairs holes and stays in localized defects; grain filler is spread over an entire surface and is designed to level the pores. Putty smeared across a panel often leaves cloudy patches that show under clear finish.
Preparation that prevents blotches and muddy color
Sand flat surfaces through 120, 150, and 180 grit. Stop at 180 or, at most, 220 grit for open-pored species. Over-sanding can burnish the surface and reduce absorption, producing pale areas beside darker ones. Break sharp edges by hand with 180-grit paper; stain collects on edges and can make them look unnaturally dark.
Remove dust with a vacuum and a clean, lightly damp cloth compatible with the finish. Do not leave sanding residue in the pores. On red oak, white oak, and ash, a pre-stain conditioner is often unnecessary and may reduce the contrast you want. On pine, fir, maple, and birch, conditioner can reduce blotching, but these species still will not develop deeply defined filled pores.
Always make a sample using the same species, sanding schedule, filler, stain, and topcoat. The topcoat can make brown appear noticeably darker or warmer. Test at least 12 by 12 inches, and inspect it under the room’s actual lighting.
A reliable finishing sequence
For a deep, controlled result, sand the bare wood, then apply the tinted grain filler according to its label. Work across the grain so the filler enters the pores rather than merely following them. Let it set until it is firm but not fully hard, then remove the excess with a plastic scraper or coarse cloth. After curing, sand lightly with 220 grit until the surface feels smooth without cutting all the filler out.
Apply a compatible walnut stain in a thin, even coat. Wipe off excess after the manufacturer’s specified time; leaving stain wet for an extra hour does not reliably make it darker and can create lap marks. For more color, use a second thin coat after the first has dried rather than flooding the surface.
An oil-based stain is often forgiving and gives open-grained oak a warm appearance. A water-based stain dries faster and keeps the color cleaner, but it can raise grain and show overlap marks. If using water-based products, dampen the bare wood lightly, let it dry, and sand the raised fibers with 220 grit before staining.
Protect the finish with two or three coats of satin water-based polyurethane for a clearer, less yellowing finish, or an oil-based polyurethane for more amber warmth. Sand lightly between coats only after the previous coat is hard enough to powder rather than gum up the paper.
Common failure modes
If the result looks orange, the wood’s undertone is showing through; use white oak instead of red oak, or choose a less-red walnut color. If the surface looks dirty or gray, too much filler remains on the face. If pores disappear entirely, the filler may have been sanded out or the wood may be too close-grained. If boards vary sharply, they may have different porosity or moisture content; finish a sample from every board before committing to the whole project.
For the lowest-cost convincing substitute, choose red oak and accept its warmer grain. For the most balanced walnut imitation, choose white oak. Choose ash when dramatic pores matter more than a quiet, authentic walnut appearance, and use real walnut when color matching is less important than owning the actual species.


0 Comments