What's inside
As an Amazon Associate I earn from qualifying purchases. This post may contain affiliate links at no extra cost to you.
The best wood for stained crown molding is usually poplar when you plan to paint, and clear pine, alder, or oak when you want the grain to show. The right choice depends on the stain color, how much grain variation you like, and whether the trim will be seen close up. A sample board matters: the same stain can look very different on different species.
As an Amazon Associate we earn from qualifying purchases at no extra cost to you.


Our Top Picks
 EWCR40 Cove Crown 3/4" x 3-3/4" Unfinished 2-5/8"94 inches94 x 0.75 x 3.75 inches2.81 poundsCheck on Amazon
 1/2 pt Minwax 13407 Clear Pre-Stain Wood Conditioner1/2 Pint3 x 3.25 x 3 inches0 PoundsCheck on Amazon


Choose the wood to suit the finish
For a consistent, relatively smooth stained finish, alder is a practical choice. Its fine, fairly even grain takes many stains with less dramatic contrast than oak. Clear pine costs less and is widely available, but its soft areas and knots can absorb stain unevenly. Oak has bold, open grain that remains visible under most stains; choose it when you want that pronounced texture, not when you are aiming for a uniform, furniture-like surface.
Poplar is commonly used for painted trim because it machines cleanly and is often less costly than clear hardwood. It can be stained, but green, gray, or brown streaks may show through and its color can turn muddy. If the finish must be stained, buy a sample of the exact species and profile before ordering the full run.
Compare common choices
| Wood | Typical appearance under stain | Cost and availability | Good fit |
|---|---|---|---|
| Alder | Fine, relatively even grain; warm color | Midrange; availability varies | Subtle grain and a more consistent look |
| Clear pine | Pronounced growth rings; can blotch | Often economical and easy to find | Budget projects and rustic interiors |
| Red oak | Strong, open grain; stain stays visible in pores | Midrange; common in many markets | Traditional trim with noticeable grain |
| Poplar | Uneven color; can look muddy when stained | Often economical and widely stocked | Painted crown molding |
These are general tendencies, not guarantees. Boards vary, and molding may be assembled from several pieces. Inspect the actual stock for color changes, knots, and grain direction before buying.
Buy a profile that suits the wood
Large, deeply detailed profiles create more corners and creases where stain and finish can pool. A simpler profile is easier to sand and finish evenly, especially in open-grain oak or soft pine. Look along each length for dents, raised grain, glue lines, and mismatched sections. For a stained installation, these defects are harder to disguise than they are with paint.
If you are matching existing trim, bring a sample or clear photos of its profile and finish to the lumberyard. Ordering one length first can prevent an expensive mismatch. Check whether the molding is solid wood or finger-jointed; finger-jointed stock is generally intended for paint, since joints can remain visible under a transparent finish.
Prepare and test before installation
Sand exposed faces before cutting final miters. Start around 120 grit if the surface has milling marks, then finish with 150 or 180 grit. Sand with the grain, and use a folded piece of paper or a sanding sponge in shaped details. Avoid rounding sharp edges: softened profiles can look uneven once installed. Remove dust with a vacuum and a clean, lint-free cloth.
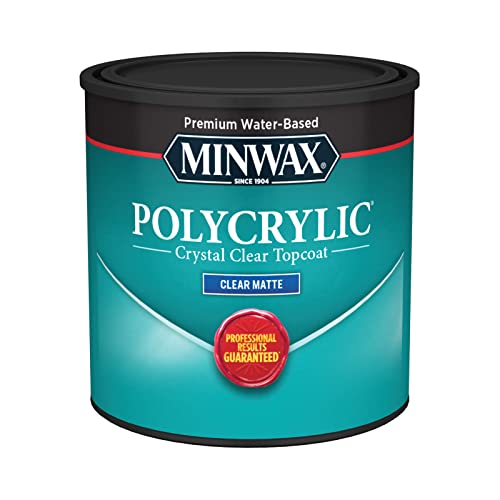
Make a test piece from the same molding, sanded with the same grits. Apply the intended stain and topcoat according to their labels, then inspect it in the room’s lighting. On pine, a compatible wood conditioner can reduce blotching, but it may also make the stain lighter. Test both treated and untreated samples. Conditioner is not a substitute for sound sanding or a test board.
Apply stain in thin, even coats and wipe away excess within the product’s stated working time. Pooled stain in carved details dries darker and can stay tacky. If you want a stronger color, build it in tested coats rather than leaving a heavy layer on the surface.
Install, then protect the finish
Let stained molding dry fully before handling or applying a topcoat; drying time changes with temperature, humidity, airflow, and product type. Follow the label rather than relying on a fixed number of hours. Sealant can darken the color or add shine, so test the intended clear interior wood finish on the sample first. Satin is a forgiving choice for many rooms; gloss highlights surface flaws and dust.
Fit the molding dry before finishing if you need to check miters and cope joints. For stained trim, fill nail holes with a color-matched filler after installation, testing it first because filler often takes stain differently from solid wood. Keep glue off visible surfaces: dried glue blocks stain and can leave pale patches. Use only enough adhesive for the joint, wipe squeeze-out promptly, and avoid smearing it into the grain.
Ceiling trim is usually indoors, but kitchens and bathrooms bring more humidity and cleaning. In those rooms, prioritize stable, well-dried stock and a durable compatible topcoat. If the ceiling is high or the molding is viewed from across a large room, small color variations may be less noticeable; close, low ceilings make board matching and careful prep more important.

0 Comments