What's inside
As an Amazon Associate I earn from qualifying purchases. This post may contain affiliate links at no extra cost to you.
For a smooth, even water-based dye job, the wood species matters almost as much as the dye. Water-based dyes color the wood fibers rather than leaving most of the color on the surface, so they can produce unusually clear, bright results. They also reveal uneven sanding, glue spots, end grain, and differences in porosity more readily than many oil-based stains.
The safest choices are fine-textured, relatively uniform hardwoods. Maple, birch, alder, and beech usually give the most predictable surface. Oak and ash can also look excellent, but their open grain creates a strongly textured appearance unless you fill the pores first. Pine and other softwoods are inexpensive, but they require more preparation to avoid blotching.
As an Amazon Associate we earn from qualifying purchases at no extra cost to you.


Our Top Picks
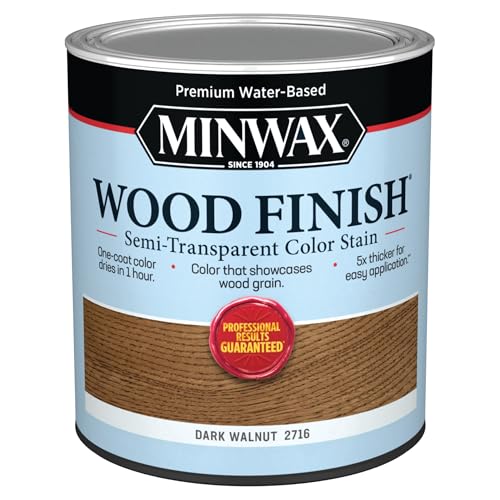 Minwax Wood Finish Water-Based Semi-Transparent Color Stain1 Quart4.32 x 4.32 x 4.92 inchesCheck on Amazon
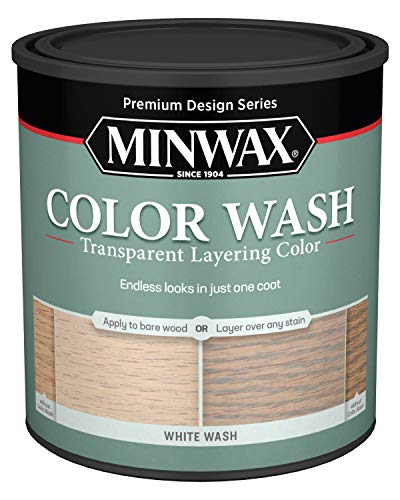 Minwax Color Wash Transparent Layering Color1 Quart (Pack of 1)4.25 x 4.25 x 4.88 inches2.5 PoundsCheck on Amazon
 AquaCoat Water-Based White Cabinet Wood Grain Filler Gel16 Fl Oz (Pack of 1)10 x 10 x 10 inches1.2 poundsCheck on Amazon
 Earlex 5700 Stationary HVLP Finishing Sprayer for WoodworkingEarlex 570014 x 16.25 x 11.75 InchesCheck on Amazon

Best wood species for a smooth water-based dye
| Wood species | How it takes dye | Best use | Main drawback |
|---|---|---|---|
| Hard maple | Very fine grain; generally even and clean | Modern furniture, cabinets, small projects | Can look slightly flat or uneven if sanding is inconsistent |
| Birch | Usually smooth, but some boards absorb unevenly | Paint-grade parts, plywood, affordable furniture | Blotching and dark patches on some pieces |
| Alder | Soft, fine-textured, and fairly receptive | Cabinet parts and budget furniture | Dents easily and can darken quickly |
| Beech | Dense, smooth, and more uniform than many diffuse-porous woods | Turned parts, furniture, shop projects | Can show subtle color variation between boards |
| Cherry | Generally even, with attractive color development | Furniture and boxes | Darkens naturally with light, changing the final color |
| Red oak or white oak | Accepts dye well but emphasizes open pores | Grain-forward furniture and flooring | Will not look “smooth” without pore filling |
| Pine | Highly variable earlywood and latewood absorption | Low-cost rustic projects | Frequent blotching and uneven color |
Maple, birch, and beech
Hard maple is usually the best starting point when the goal is a smooth, controlled dyed surface. Its fine grain does not compete with the color, and pale maple shows bright dyes clearly. It is also dense enough that the surface can be polished smooth with careful sanding. The trade-off is that a poorly prepared maple panel may show a stripe or dark area where sanding pressure changed the absorption.
Birch is a practical cheaper alternative, particularly when using birch plywood. It can look excellent after dyeing, but solid birch and plywood faces vary more than many beginners expect. Test a scrap from the same sheet or board. A dye that looks even on one panel can produce a dark patch on another.
Beech has a close, smooth texture and takes many colors well. It is a good choice for parts that need a clean appearance without maple’s relatively high price. Because beech is dense, do not assume a very fine final grit will improve the result. Sanding to 180 grit is often enough; sanding to 320 can burnish the surface and cause the dye to sit unevenly.
Alder, cherry, and walnut
Alder is soft and easy to work, making it forgiving during shaping but less forgiving during handling. Finger pressure, clamps, and small dents can become darker spots after dyeing. Use light sanding pressure and inspect the surface under raking light before applying color. Alder is often a good inexpensive choice for painted or moderately dark dyed work.
Cherry generally accepts water-based dye evenly and has a naturally attractive grain. It is worth testing the complete finish schedule, however, because cherry darkens and becomes redder with exposure to light. A color that looks correct on day one may be noticeably different months later.
Walnut usually does not need much help from dye because it already has strong natural color. A diluted brown or black dye can even out pale sapwood or deepen the heartwood, but a heavy application can make the piece look muddy. If the goal is a very smooth visual field, walnut’s grain will remain visible even after careful preparation.
When open-grain woods are the right choice
Oak and ash are not poor choices for water-based dye; they simply produce a different result. Their large pores absorb dye heavily and create pronounced dark lines. This is useful for a rustic or grain-emphasized finish, but it is not the right route to a visually flat, smooth panel.
To smooth these woods, apply a compatible water-based grain filler after initial sanding and before dyeing. Work it across the grain, let it dry fully, then sand it level. A single application may not fill deep oak pores completely. Grain filler also changes absorption, so always dye a sample after filling rather than judging the bare wood.
Softwoods: workable, but less predictable
Pine, fir, and spruce contain bands of soft earlywood and harder latewood. The soft bands absorb water-based dye quickly, while the dense bands resist it. The result can be stripes, dark patches, and a muddy appearance around knots. A water-based wood conditioner may reduce the contrast, but it can also make the final color paler and less saturated.
For inexpensive pine, a sample board and a lighter dye mix are usually better investments than trying to force a premium appearance. Choose clear, straight-grained stock, avoid knots near the visible face, and accept some variation. On rustic furniture, this cheaper option is often perfectly suitable.
Surface preparation for an even dye coat
Sand the surface consistently, starting around 100 or 120 grit if milling marks are present. Finish at 180 grit on most hardwoods. Use 220 grit only when the manufacturer specifically recommends it or when the surface still feels rough. Higher grits can partially close the fibers and reduce color penetration.
Remove glue completely before dyeing. Dried glue can look invisible on bare wood but appear as a pale, sharp-edged patch after color is applied. Scrape squeeze-out while it is rubbery, then sand the area with the surrounding surface rather than spot-sanding only the glue line.
Water raises the grain, so wipe the sanded wood lightly with a damp cloth, let it dry, and knock down the fuzz with a fresh pass at 180 grit. Alternatively, apply a thin, even coat of the mixed dye, let it dry, and sand very lightly before the final coat. Do not soak one section or allow puddles to dry at the edges.
Application and testing
Mix dye thoroughly and filter it through a paint strainer or fine disposable filter if undissolved particles remain. A small HVLP sprayer gives the most even coverage on large panels, while a synthetic brush or foam applicator works well on smaller parts. Keep a wet edge and wipe off runs immediately.
Make a sample using the same species, sanding schedule, dye concentration, number of coats, and clear finish. Apply at least two coats of clear finish to the sample because water-based topcoats often deepen or slightly change the color. If the sample shows blotching, changing the dye brand rarely fixes the underlying problem; improve the wood preparation or choose a more uniform species.

0 Comments