What's inside
As an Amazon Associate I earn from qualifying purchases. This post may contain affiliate links at no extra cost to you.
Our Top Picks
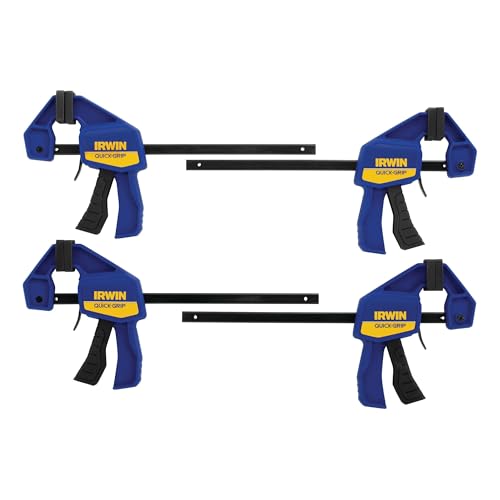 IRWIN Quick-Grip 1964758 One-Handed Mini Bar Clamp 44 Count (Pack of 1)21 x 8 x 2.5 Inches1 poundsCheck on Amazon


Why boards shift during glue-up
Wet glue acts like a lubricant. As you tighten clamps, small differences in pressure can make boards slide sideways or ride up at the joints. The wider the panel and the more clamps you use, the more chances there are for movement. A reliable setup prevents that movement before the glue goes on; trying to steer boards back into place while the glue is spreading usually makes a mess and wastes open time.
Start with straight, well-fitted edges and dry-fit the whole panel. Mark the board order and put pencil marks across the joints so you can see when an edge has crept. Check that the assembled panel fits your clamps and that the clamps reach the center. Most common yellow PVA wood glues have an open time of only several minutes, so rehearse the sequence rather than improvising with glue on the edges.
As an Amazon Associate we earn from qualifying purchases at no extra cost to you.

Set up clamps and cauls before applying glue
For a typical 3/4-inch-thick panel, lay clamps across the panel at roughly 8 to 12 inches apart, alternating them above and below. This helps counter the tendency of the panel to bow under clamp pressure. Keep the end clamps a few inches in from the ends. Use enough clamps to close every joint evenly; adding more force to a few widely spaced clamps can bow the panel without closing gaps between them.
Cauls are straight bars laid across the panel to keep board faces level. Waxed hardwood strips, straight plywood, or commercial cauls all work. Put one near each end and add more on a wide panel, typically every 12 to 18 inches. Tighten them only enough to keep the faces aligned. If a caul bows, it can press the panel into a hump instead of flattening it.
Cover cauls with packing tape or apply paste wax so squeeze-out will not glue them to the work. A pair of bar clamps can serve for panel pressure, while shorter clamps can hold cauls. Check that clamp bars are clean and that their pads will not dent the wood.
Choose a shift-control method
For a small panel, good clamp placement and cauls may be enough. If the boards still skate during a dry run, add a simple mechanical aid. The best choice depends on whether the panel will be visible, how often you make panels, and whether you have equipment for accurately cutting alignment slots.
| Method | Best for | Trade-off |
|---|---|---|
| Cauls plus alternating clamps | Most edge-glued panels | Low cost; requires reasonably straight cauls and careful tightening |
| Painter’s tape across joints | Short panels and a quick dry fit | Fast and inexpensive; tape can stretch or lose grip on dusty wood |
| Biscuits or dowels | Repeated alignment or boards that are awkward to handle | More setup; alignment features do not replace clamp pressure |
| Splines | Thicker stock or a joint designed to include a spline | Strong alignment, but requires a groove and may affect the panel’s appearance |
Painter’s tape can be useful: apply strips across the dry-fitted seams on one face, pull the boards together, then flip the panel and apply glue to the opposite face of the joints. Fold the panel closed and clamp it. This trick works best on short, light boards with clean surfaces; on a long or heavy panel, tape may peel or let the boards shift.
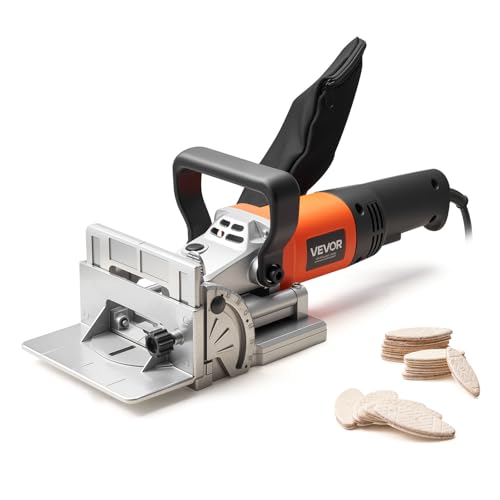
Biscuits are primarily alignment aids in this kind of edge glue-up, not a substitute for a sound glue joint. A biscuit joiner can make repeatable slots, but inaccurate slots can force boards out of alignment. Dowels offer similar help, though their holes need careful placement and a close fit. If you only make an occasional tabletop, cauls are usually the cheaper, simpler option.
Apply glue and tighten in stages
Use a thin, continuous coat on one mating edge, or follow the glue manufacturer’s directions for both surfaces. The edge should be covered without thick puddles. A yellow PVA wood glue is suitable for many indoor furniture panels, but check the label for its open time, clamp time, and temperature range. Cold conditions slow curing; hot, dry conditions can shorten working time.
Bring the joints together with light pressure first. Check your pencil marks and board faces, then tighten clamps in small steps, alternating between them rather than fully tightening one clamp at a time. Add just enough pressure to close the seams. Excessive force can bow the panel, squeeze out too much glue, or crush soft wood beneath clamp pads.
Watch for a joint opening on the far side as you tighten. If one seam stays open, loosen the nearby clamps, correct the alignment, and retighten. Do not try to close a visible gap by cranking down on every clamp; the problem may be a poor edge fit or a clamp pulling at an angle. Place clamps square to the panel and use pads or scrap blocks to prevent dents.
Check flatness and clean up
Use a straightedge across the panel and sight along its length while the glue is still workable. Correct small height differences with cauls and modest clamp adjustments. If the panel is badly cupped or a board is twisted, release the pressure and reset it rather than hoping sanding will remove the error. Removing a large ridge later can thin the panel and expose uneven grain.
Remove squeeze-out according to the glue maker’s guidance. Wet PVA can often be wiped with a lightly damp cloth, but avoid spreading a thin film over the wood; dried glue can resist stain and show up as pale patches. Another option is to let the squeeze-out gel and lift it carefully with a plastic scraper. Before staining, inspect the surface under raking light and sand away any remaining glue, since even a small smear can leave a conspicuous light spot.
Leave the panel clamped for the time stated on the glue label, then allow it to cure fully before heavy sanding, machining, or loading. Clamp time is not the same as full cure. If a panel must be perfectly flat, store it supported evenly after unclamping rather than leaning it against a wall, where it can take on a bend.



0 Comments