What's inside
As an Amazon Associate I earn from qualifying purchases. This post may contain affiliate links at no extra cost to you.
Our Top Picks
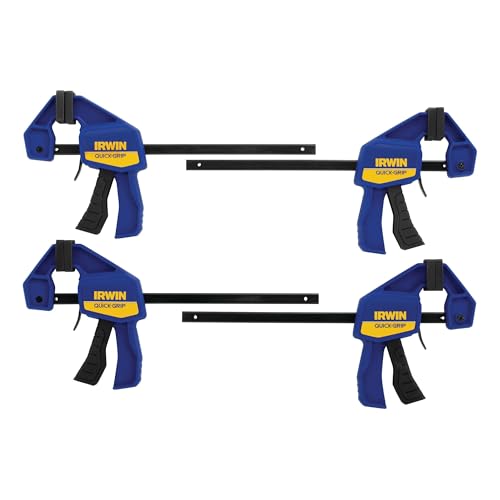 IRWIN Quick-Grip 1964758 One-Handed Mini Bar Clamp 44 Count (Pack of 1)21 x 8 x 2.5 Inches1 poundsCheck on Amazon

When a veneer bubble is repairable
A small, localized veneer bubble is often fixable with wood glue and even clamping pressure. The method works best when the veneer is intact, the bubble is not much larger than a few inches across, and the wood underneath is sound. A loose veneer edge or a bubble that yields slightly when pressed is a good candidate.
Glue and clamps are less likely to help if the veneer is cracked, missing, badly swollen, or detached over a large area. Water damage, a soft or crumbling substrate, and bubbles near a curved edge can also make a simple repair unreliable. In those cases, lifting and replacing veneer—or calling a furniture repairer—may be the better choice.
As an Amazon Associate we earn from qualifying purchases at no extra cost to you.

Tools and materials
Gather wood glue, a sharp utility knife or thin palette knife, a small syringe or artist’s brush, a flexible putty knife, wax paper, a flat caul, and clamps. A caul is a rigid board that spreads clamp pressure across the repair; a flat scrap of plywood or hardwood works if it is smooth and larger than the bubble. For a small repair, a PVA wood glue is usually sufficient.
Use a small glue syringe if the bubble has a narrow opening. A thin palette knife or artist’s brush can work just as well when an edge is already loose. Don’t force a tool under the veneer: a small split can quickly become a visible tear.
Choose the glue and clamping setup
| Option | Best for | Trade-off |
|---|---|---|
| PVA wood glue | Small, clean repairs on unfinished or lightly finished veneer | Needs a close-fitting joint and clamping; excess can stain some wood |
| Contact cement | Some broad, flat veneer re-bonding jobs | Not suitable for the clamp-and-inject method; contact is immediate and repositioning is difficult |
| Caul and clamps | Flat panels with access for clamps | Pressure must be even; a bare clamp foot can dent the veneer |
| Weighted caul | Small flat areas where clamps cannot reach | Weight can shift, and pressure may be insufficient on a stubborn bubble |
For a typical small bubble, choose regular PVA glue rather than a specialty adhesive. A cheaper bottle is fine if it is fresh, spreads easily, and is suitable for interior woodwork. Avoid relying on expanding polyurethane glue: foam can push the veneer up and make cleanup difficult.
Prepare the veneer
First, remove dust and identify the bubble’s edges by lightly pressing around it. If the surface has a film finish, paint, or lacquer, the glue still needs a path to the loose area. Use an existing split or a small opening at an edge when possible. If you must make an access cut, follow the grain and keep the slit as short as possible—often 10 to 20 mm is enough for a small bubble. Don’t cut a long cross-grain line; it is more likely to show after repair.
Check the opening for old brittle glue, dust, or debris. Remove loose material carefully, but do not scrape aggressively against the veneer’s underside. If the bubble is caused by dampness, let the panel dry fully before gluing. Trapping moisture can lead to another lift, and clamping a swollen panel flat may cause cracking as it dries.
Inject glue and clamp
Work a small amount of glue under the loose veneer with a syringe, brush, or thin knife. Spread it toward the edges without filling the cavity so heavily that glue squeezes across the finished surface. If the veneer is too tight to admit glue, gently lift an existing loose edge; forcing it can split the sheet.
Press the bubble from the center outward with a flexible putty knife or a clean fingertip to distribute glue and push out air. Wipe away squeeze-out promptly with a barely damp cloth, testing first on an inconspicuous spot. Water can affect some finishes and raise exposed wood fibers.
Cover the repair with wax paper, then place the flat caul over it. The wax paper helps keep the caul from bonding to the panel. Tighten clamps gradually, using enough pressure to bring the veneer flat—not enough to crush it. Put clamp pads under the feet to protect the opposite face. A bar clamp with protective pads is useful when the panel has accessible edges; for a small tabletop area, a weight on the caul may be simpler.
Leave the repair clamped for the glue label’s recommended time. Many PVA glues specify roughly 30 minutes to an hour under pressure, but full cure can take about 24 hours. Follow the bottle rather than treating the clamp-release time as permission to sand or refinish immediately.
Check and finish the repair
After removing the clamps, inspect the veneer under raking light. It should feel flat, with no soft area that springs back when pressed. If a small edge remains loose, repeat the glue-and-clamp process rather than flooding it with glue from the top. A failed bond may indicate contamination, inadequate pressure, or a substrate that is still moving.
Trim dried glue carefully with a sharp chisel or scraper held nearly flat. Avoid sanding through the veneer: many furniture veneers are less than 1 mm thick, and aggressive sanding can expose the substrate in seconds. If the access slit is visible, a tiny amount of matching wood filler may hide it, but filler can take stain differently from real wood. Test stain or finish on an unseen area first; repaired veneer may absorb color unevenly, especially where glue has sealed the grain.
If the bubble returns, grows, or is accompanied by discoloration or a musty smell, stop and investigate moisture or substrate damage. Repeated clamping won’t solve an ongoing cause, and more glue can make later veneer replacement harder.



0 Comments