What's inside
As an Amazon Associate I earn from qualifying purchases. This post may contain affiliate links at no extra cost to you.
A convincing wood repair depends on more than choosing a filler that matches the label on the can. The repair must accept stain at roughly the same rate as the surrounding wood, sand without tearing out, and have a grain pattern that does not draw attention. Species with tight, even pores are usually easiest. Ring-porous woods such as oak and ash require more planning because their earlywood absorbs color differently from the dense latewood.
As an Amazon Associate we earn from qualifying purchases at no extra cost to you.

Our Top Picks
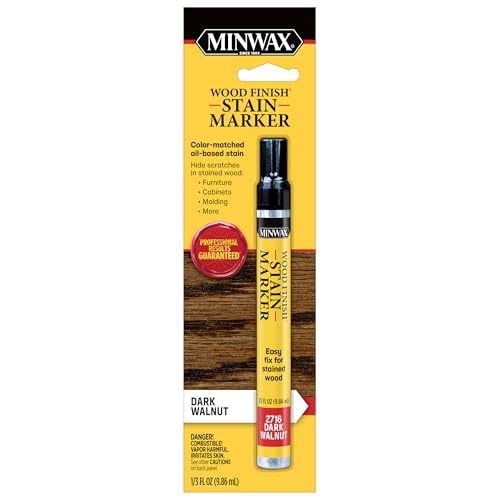 Minwax 63487000 Wood Finish Stain Marker for TouchPack of 1 (1/3 oz each)2.25 x 0.5 x 8.5 Inches0.02 poundsCheck on Amazon
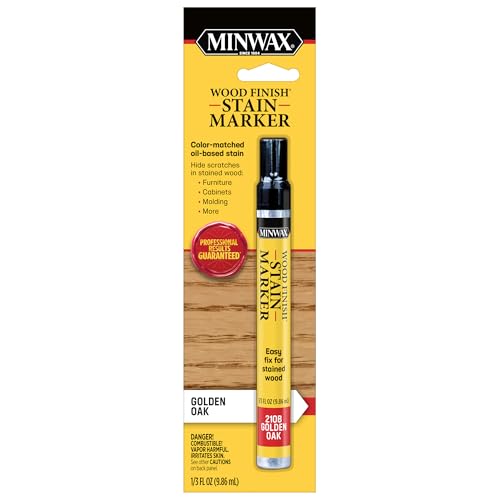 Minwax 63481000 Wood Finish Stain Marker for TouchPack of 1 (1/3 oz each)2.25 x 0.5 x 8.5 inches1 PoundsCheck on Amazon
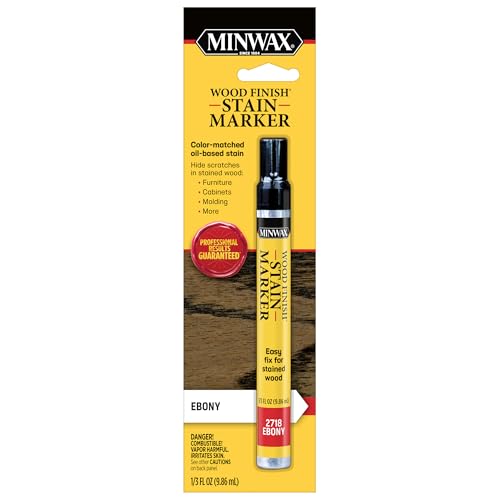 Minwax 634900000 Wood Finish Stain Marker for TouchPack of 1 (1/3 oz each)2.25 x 0.5 x 8.5 inches0.08 poundsCheck on Amazon


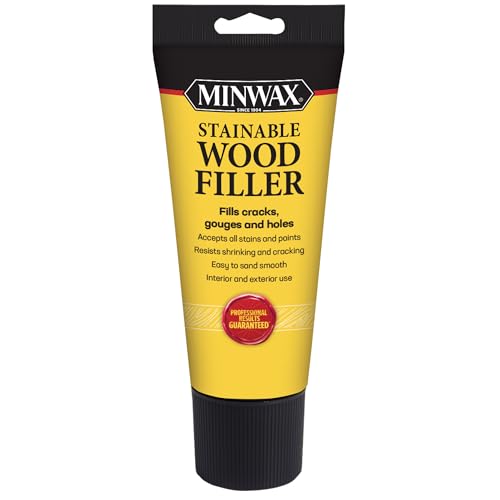
Choose the repair material by wood species
If the missing area is small, a matching wood putty may be adequate. For a chipped corner, broken edge, or deeper void, a piece of the same species is usually the best starting point. Use a patch from the same board when possible; wood sold under one species name can still vary substantially in color, grain, and density.
| Wood species | Repair behavior | Best matching approach |
|---|---|---|
| Maple | Very smooth, tight grain; light color; can show blotches | Maple patch or fine-grain filler; test finish carefully |
| Oak | Open, prominent pores and strong ray fleck | Oak patch with aligned grain; use a matching grain filler when needed |
| Ash | Open pores and bold grain, often lighter than oak | Ash patch; match grain direction more than exact initial color |
| Walnut | Dark, variable brown with frequent lighter sapwood | Walnut patch; use dye or stain only after testing |
| Cherry | Fine grain; naturally darkens with light exposure | Cherry patch; expect color to change over time |
| Pine | Soft, resinous, uneven absorption; dents easily | Pine patch or colored filler; seal before staining |
Best species for a smooth, low-visibility repair
Maple is one of the best choices for a smooth repair because its fine pores produce a clean surface after sanding. Hard maple is dense and resists denting, while soft maple is easier to cut and often closer in color to older furniture. The drawback is finish behavior: maple can develop dark blotches under penetrating stain. A washcoat or conditioner helps, but it can also reduce color depth.
Cherry sands smoothly and has a relatively fine, cooperative grain. It is a good choice for furniture repairs where the surrounding wood has a warm reddish-brown tone. Fresh cherry may look too pale beside aged cherry. A clear finish will allow it to darken, but the repair may remain visible for months. A light dye or carefully blended stain can reduce the difference, but avoid trying to make a new patch look exactly like old cherry in one application.
Walnut is suitable for dark furniture and is generally easy to shape. It has enough grain variation to disguise a small patch, but walnut sapwood can be much lighter than the heartwood. For a dark repair, a walnut-colored filler may be faster than trying to stain pale filler. For a deeper gouge, use a walnut offcut and blend the edges with a sharp chisel or small router.
Oak and ash are strong repair candidates when grain alignment matters. Their open pores create texture that a smooth filler cannot reproduce. A flat, color-matched spot on oak can still look wrong because the surrounding pores catch light differently. Use a patch with similar pore size and orient the grain in the same direction. If the surface is a filled-pore finish, apply oak grain filler after the patch is level.
Pine is inexpensive and perfectly acceptable for painted work, shelving, trim, and small utility repairs. It is less reliable under clear or dark stain. Soft earlywood absorbs stain heavily, while resinous areas may repel it, producing stripes and blotches. For a cheap repair on pine, colored putty followed by paint is often the sensible option rather than chasing a perfect stained match.
Decide between a wood patch and filler
Use filler for holes, dents, nail heads, and defects under about 1/8 inch deep. A stainable wood filler is convenient, but “stainable” does not mean it will absorb color like the board. Most fillers lack real grain and often turn darker or lighter than expected.
For damage deeper than 1/8 inch, a patch is usually more dependable. A tapered dutchman or small plug made from matching wood gives the finish real fibers to work with. Keep the patch slightly proud of the surface, glue it with a thin, even layer of wood glue, and allow at least 30 minutes of clamp time or follow the adhesive label. Do not flood a small joint with glue; squeeze-out can seal the surrounding wood against stain.
Two-part epoxy is useful for missing corners, loose knots, and irregular voids where a wood patch would be difficult to hold. It sands well after curing and will not shrink like some water-based fillers. However, epoxy usually accepts stain poorly. It is better under paint, or it should be tinted before curing and top-coated with a finish that hides the transition.
Prepare the surface for an even color
Remove loose fibers and finish before filling. Start with 80- or 100-grit abrasive only when leveling damaged wood; otherwise begin at 120 grit. Finish with 180 grit for most stained furniture. Sanding finer than 220 grit can burnish some species and reduce stain absorption, especially on maple and cherry.
Sand with the grain and use a hard sanding block on flat surfaces. A foam pad can round an edge in only a few strokes. After sanding, vacuum the dust and wipe with a clean, slightly damp cloth if the finish system allows it. Water can raise the grain, so let the surface dry fully and knock down the raised fibers with 180 or 220 grit.
Test the complete finish schedule on an offcut or hidden area. Test filler, stain, sealer, and topcoat together—not just the stain. A coat of dewaxed shellac can isolate a blotchy repair, but it also reduces the amount of stain that penetrates. For predictable color, use a dye or toner in thin layers rather than one heavy coat.
Apply the finish and avoid common failures
Blend color outward from the repair instead of concentrating dark stain directly on the center. Wipe excess stain promptly, particularly on end grain and filler. End grain can become dramatically darker because it exposes open fiber ends; pre-sealing it with a thin coat of finish helps control that absorption.
The most common failure is choosing a filler by color alone. The second is ignoring sheen: a glossy spot can reveal a repair even when the color is close. Match the surrounding surface with the same type of topcoat and sheen, then allow it to cure before judging the result. For small painted repairs, a cheaper lightweight filler is fine. For clear-finished furniture, matching species, grain direction, and pore structure usually matters more than saving a few dollars on filler.



0 Comments