What's inside
As an Amazon Associate I earn from qualifying purchases. This post may contain affiliate links at no extra cost to you.
End grain is the exposed end of a board’s fibers. It absorbs glue quickly, so a joint can starve before the adhesive has time to set. That makes end-grain joints less reliable than long-grain-to-long-grain joints—but good surface preparation, the right glue, and enough clamping pressure make a useful difference.
As an Amazon Associate we earn from qualifying purchases at no extra cost to you.


Our Top Picks
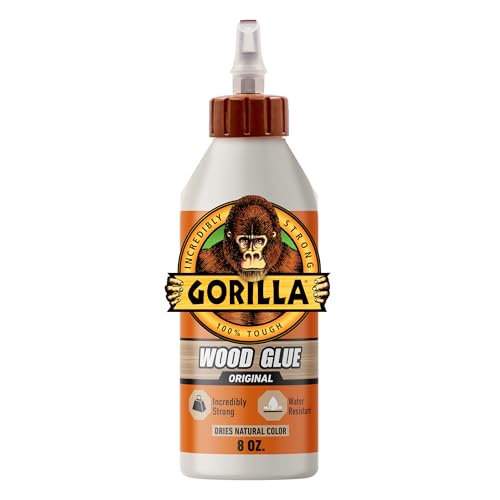
Choose a joint that suits the load
A simple end-to-end butt joint has little glue area and depends heavily on end-grain adhesion. It is fine for a low-stress repair, a small trim return, or a joint reinforced with screws, dowels, or a spline. For a structural connection, increase the long-grain glue area: use a scarf, half-lap, bridle, or housed joint where the design allows.
Do not expect glue to compensate for a poor fit. Aim for mating faces that close without a visible gap and can be held in position with clamps. For a small gap, adjust the cut or add a fitted wood piece rather than filling it with extra glue. Most common wood glues are not dependable gap fillers.
Prepare clean, freshly cut surfaces
Make the end-grain cut square and clean with a sharp, fine-toothed saw or a sharp plane. Tear-out, burnishing, and saw marks reduce contact or interfere with wetting. Sanding is not usually needed on a freshly cut joint face. If you do sand, use a flat block and stop around 120–150 grit; very fine sanding can burnish the surface and make glue penetration less predictable.
Remove dust with a dry brush or vacuum. Avoid wiping the joint with a wet rag immediately before gluing: added moisture can raise fibers and dilute the adhesive at the surface. If the wood is oily, resinous, or contaminated with finish, clean it using a method suitable for that species and adhesive, then let it dry fully. Glue will not bond through stain, paint, wax, or an old glue film.
Choose glue for the material and conditions
For indoor furniture and general woodworking, a quality PVA wood glue is usually the practical choice. It is inexpensive, easy to clean up while wet, and strong on well-fitted joints. For exterior exposure, choose a product specifically rated for that use; “water-resistant” and “waterproof” are not interchangeable. Polyurethane glue can suit damp conditions and some difficult materials, but it foams as it cures, needs moisture to cure, and does not make a poor-fitting wood joint strong.
Check the label for open assembly time, clamp time, and temperature limits. Those are different measures: a joint may be unclamped after a stated period but still need substantially longer before sanding or loading. A PVA wood glue is the cheaper, sensible option for most indoor work. For projects exposed to weather, compare the manufacturer’s exterior ratings before buying a glue rated for exterior use.
Compare common glue choices
| Glue type | Good fit for | Trade-off |
|---|---|---|
| PVA wood glue | Indoor furniture and clean, tight wood joints | Limited gap filling; many formulations are not suited to continuous outdoor wetting |
| Exterior-rated PVA | Outdoor projects when the label permits the exposure | Still needs close-fitting faces and correct clamping |
| Polyurethane glue | Some damp-service joints and certain mixed-material jobs | Foam can obscure a weak joint; squeeze-out is harder to clean and clamp pressure is still needed |
| Epoxy | Selected repairs or joints where its gap-filling properties are useful | More expensive, slower to handle, and unnecessary for many ordinary wood joints |
Size the end grain before assembly
For a small or thirsty end-grain face, apply a thin coat of PVA glue, wait about 5–10 minutes, then apply a second coat and assemble while the glue is still wet. This “sizing” step lets the first coat partly soak in so the second is less likely to disappear into the fibers. Timing depends on the glue, wood, temperature, and face size; follow the label and do not let the first coat dry into a film.
On larger faces, apply glue evenly to both mating surfaces. A small brush or spreader helps cover the end grain without leaving dry patches. A shiny pool is not the goal: you need continuous coverage, not a thick layer that prevents the parts from seating.
Clamp evenly and let the joint cure
Dry-clamp first. Check alignment, clamp placement, and whether the joint closes before applying glue. During glue-up, use enough pressure to bring the faces together and create a thin, continuous squeeze-out. Excessive pressure can bow thin parts, crush soft wood, or squeeze out too much adhesive. If the joint slides, use cauls, a stop block, or a simple locating pin to keep it aligned.
For a basic butt joint, place clamps so the force acts across the joint and the parts stay flush. Add a caul when clamp pads would mark the work or when pressure is uneven. Wipe fresh squeeze-out with a damp cloth only if the glue maker recommends it; smearing diluted glue into the grain can interfere with later stain. A glue scraper after the squeeze-out turns rubbery is often cleaner. If the piece will be stained, remove residue carefully and inspect under raking light before sanding.
Keep the assembly still for the stated clamp time, then avoid stressing it until the adhesive has had its full cure period. Many PVA glues need roughly 24 hours for full strength, though conditions and product instructions vary. Cold temperatures, wet wood, and a heavy glue line slow curing. A joint that is moved too soon may creep or open later even if it looked closed at first.
Recognize and prevent common failures
A clean separation along the glue line often points to a starved joint, a dusty or contaminated face, or inadequate contact. A split through the wood near the joint suggests the bond may be stronger than the surrounding fibers, though the joint design can still be inadequate for the load. A gap at one edge usually means the faces were not square, the clamps pulled the parts out of alignment, or pressure was uneven.
For a critical joint, make a test piece from the same wood and use the same preparation and glue-up routine. If the test fails at the glue line, improve the fit, add a sizing coat, or choose a joint with more long-grain contact. If a plain butt joint must carry substantial force, reinforce it with a mechanical feature such as a spline or dowels rather than relying on a stronger-sounding glue alone.



0 Comments