What's inside
As an Amazon Associate I earn from qualifying purchases. This post may contain affiliate links at no extra cost to you.
Tung oil can leave bare wood with a low-gloss, soft-looking finish that shows grain rather than building a thick plastic-like film. The process is straightforward, but the label matters: many products sold as “tung oil finish” are blends with varnish, solvents, or other oils, not pure tung oil. Check the ingredients and directions before you buy; drying times and application methods vary.
As an Amazon Associate we earn from qualifying purchases at no extra cost to you.

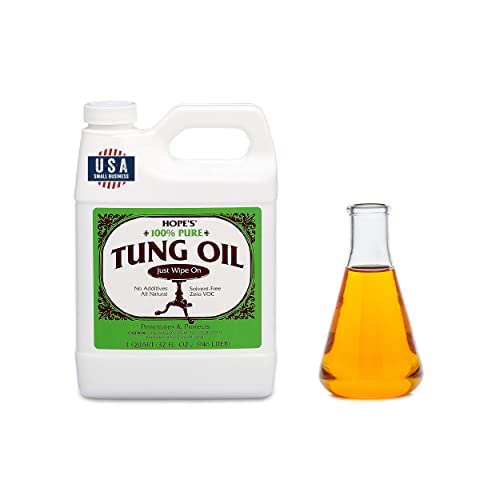
Our Top Picks
 Sunnyside Corporation 872G1S Boiled Linseed OilGallon4.15 x 6.64 x 10.32 inches8.25 poundsCheck on Amazon

Choose the right tung oil finish
Pure tung oil penetrates wood and cures through exposure to air. It usually needs several thin coats and can take days to dry between them. A commercial tung oil finish may contain driers or resins, so it can dry faster or build a harder surface, but it may look and behave more like an oil-varnish blend. Neither is automatically better. Pure oil suits a patient, low-build job; a blend is often more practical for furniture that needs quicker protection.
Compare labels rather than relying on the word “tung.” If you want a product with no added resins, look for one that lists tung oil as the only finish ingredient. For a first project, a tung oil wood finish from a reputable supplier is a reasonable starting point. Follow its instructions for thinning, recoating, and cure time.
| Finish type | Typical trade-off | Good fit |
|---|---|---|
| Pure tung oil | Low build and long cure; often needs many coats | Decorative pieces and patient hand finishing |
| Tung oil blend | Often easier or faster to apply, but ingredients and film build vary | Furniture and general indoor projects |
| Water-based polyurethane | Builds a more distinct protective film; less like an oil finish | Surfaces needing stronger wear or water resistance |
Prepare the wood
Start with clean, bare wood. Remove paint, wax, and old finish; tung oil will not reliably penetrate a sealed surface. Sand with the grain, commonly stopping at 180 or 220 grit. Sanding much finer can burnish some woods and reduce absorption, though the effect depends on species and abrasive. Vacuum thoroughly, then wipe away remaining dust with a clean, dry cloth. Avoid using a tack cloth that leaves residue unless its maker confirms it is suitable for oil finishes.
Test the finish on an offcut or an inconspicuous spot. Oil generally deepens color and can make pale wood look warmer. The sample also reveals uneven absorption, which is common on blotchy species such as pine and birch. If the result looks patchy, improve the sanding and test again; extra oil will not fix uneven preparation.
Make sure the wood and room are dry and reasonably warm. Cold conditions and poor airflow slow curing. Keep the workspace ventilated, and check the product label for temperature limits.
Apply thin coats
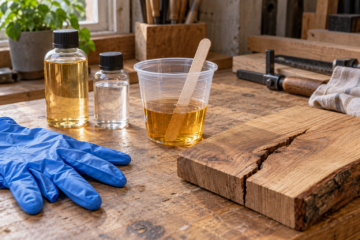
Stir the container if the label says to, but do not shake it and trap bubbles. Apply a small amount with a lint-free cotton cloth or a suitable natural-bristle brush, working with the grain. Spread it evenly and let the wood absorb the oil for the time specified on the label—often around 15 to 30 minutes for an oil finish, but products differ.
Wipe off all excess with a clean cloth before it gets tacky. A wet-looking puddle left on the surface can wrinkle, stay gummy, or cure into shiny patches. The goal is a thin, even coat, not a wet film. For a simple application kit, lint-free cotton finishing cloths are inexpensive and work well; use a fresh section as each cloth loads up.
Let the coat dry fully before recoating. Do not trust the surface merely because it feels dry to the touch: a cured finish should not feel tacky or smell strongly of solvent or oil. Depending on the product, coat spacing may range from several hours to a day or longer. Pure tung oil can require several days between coats in cool or humid conditions. If the next coat drags, pills, or feels sticky, stop and give the surface more time.
Apply additional thin coats until the appearance suits you. Three or four coats may be enough for a modest satin look with a faster-drying blend; pure oil may need more. Each coat adds little protection compared with a thick film finish, so do not keep adding coats just to chase gloss. If a coat dries rough, lightly smooth it with fine abrasive—around 320 grit—then remove dust before continuing.
Control the sheen and understand protection
Tung oil’s sheen comes from how much finish remains at the surface and how smoothly it is applied. Wiping every coat thoroughly tends to produce a quieter satin appearance. A thicker surface layer can look glossier, but it may also take longer to cure and show lap marks. For a soft, even sheen, use thin coats and judge the finish only after it has cured; fresh oil can look shinier than the final result.
Oil finishes are easy to refresh, but they are not the best choice for every surface. They provide limited resistance to standing water, heat, and abrasion compared with a well-applied film finish. On a dining table, expect to wipe spills promptly and use coasters. For a kitchen worktop or frequently wet surface, consider a finish rated for that use rather than assuming tung oil alone will provide waterproof protection.
Handle oily rags safely
Rags soaked with drying oil can heat up as the oil cures and may ignite if left crumpled in a pile. Do not put them in a trash can or leave them on a bench. Follow the product’s disposal instructions: a common safe method is to spread rags flat outdoors on a noncombustible surface until fully dry, away from buildings and ignition sources. Alternatively, store them under water in a closed metal container until disposal, if local rules allow. Keep oil away from flames, and wear gloves if your skin is sensitive to the product.
Allow the finished piece to cure for the time stated on the label before regular use. If the surface remains tacky after several days, more coats are not the answer: wipe off any uncured excess if possible, improve airflow, and give it more time. For stubborn gummy patches, check the manufacturer’s cleanup guidance rather than sanding through a half-cured finish.

0 Comments