What's inside
As an Amazon Associate I earn from qualifying purchases. This post may contain affiliate links at no extra cost to you.
A warm amber oil finish can make pale wood look richer without hiding its grain. But the oil is only part of the color: the species, cut, sanding, and product formulation all affect the result. A finish that turns pine honey-gold may make cherry look orange-brown, while dense maple can show little color change at all.
As an Amazon Associate we earn from qualifying purchases at no extra cost to you.


Our Top Picks



What an amber oil finish does
“Amber oil” usually describes an oil-based finish, such as boiled linseed oil, or a wiping varnish that adds a yellow-to-brown cast. Oil deepens contrast and makes the grain look wet. It does not reliably produce the same color on every species, and a clear oil is not a stain you can count on to even out blotches.
Check the label: products sold as Danish oil or oil finish can contain drying oil, varnish, solvents, or a blend. Their color and protection vary. Pure or boiled linseed oil offers modest moisture resistance and needs careful, thin application; oil-based wiping varnish generally provides a more protective film. For tabletops and other surfaces exposed to water, choose a finish rated for that use rather than relying on oil alone.
Species that suit the look
| Species | Typical result with amber oil | Watch-outs |
|---|---|---|
| White oak | Warm tan to golden brown; open grain becomes more pronounced | Can read darker and more rustic than expected, especially on quartersawn boards |
| Walnut | Rich brown with warmer highlights; strong grain contrast | Amber can push lighter areas toward orange; color varies from board to board |
| Cherry | Warm reddish brown that deepens naturally over time | Freshly sanded cherry can blotch, and sunlight changes its color quickly |
| Maple | Subtle yellow-gold cast with a smooth, quiet grain | Dense, tight grain may take color unevenly; the result can look almost unchanged |
| Pine | Pronounced honey color and visible knots | Soft earlywood absorbs more than hard latewood, creating blotches and stripes |
| Red oak | Strong golden-orange color with prominent open grain | Often looks more orange than white oak under the same finish |
White oak is a dependable starting point if you want visible grain and a controlled amber-brown result. Walnut suits a deeper, furniture-like tone, while maple works when you want a restrained glow. Pine is inexpensive and can look attractive in a casual project, but it is the least forgiving choice for an even color. Buy a few offcuts from the actual boards rather than judging from a sample made with different stock.
Choosing a finish to buy
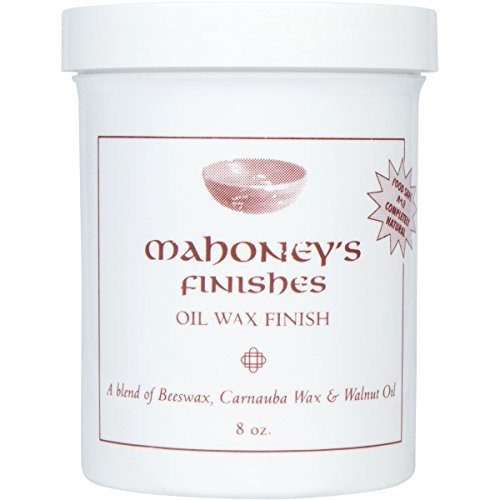
For an easy wipe-on application, compare oil-based wiping varnishes. They commonly combine warm color with more protection than a simple drying oil, though the exact sheen and amber cast depend on the product. If you want a traditional, low-build treatment, look at boiled linseed oil; it is often cheaper, but it offers less surface protection and may take longer to cure than a varnish blend.
Do not assume “natural” means colorless. Test the finish on the same species, from the same board if possible, and let the sample cure for at least the period stated on the label before judging it. A wet sample looks darker than a dry one. If you want a specific amber shade rather than a modest warm-up, a compatible stain may be easier to control, but it adds another variable and can exaggerate blotching.
Preparation and application
Sand evenly through the grits; a typical progression is 120, 150, then 180 grit for many furniture projects. Follow the product label if it calls for a different final grit. Sanding finer is not always better: polished, dense wood can absorb oil less readily, while uneven sanding leaves light and dark patches. Remove dust with a vacuum and a clean, lint-free cloth. Avoid oily tack cloths unless the finish maker approves them.
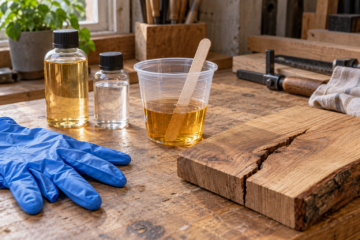
Apply a thin coat with a lint-free rag or suitable brush, working along the grain. Let it penetrate for the label’s specified time, then wipe away all excess. Pooled oil can stay tacky, wrinkle, or cure as a gummy patch, especially in corners and end grain. If a second coat is allowed, add it only after the first has reached the stated recoat condition. A test on scrap will show whether one coat gives enough color and sheen.
On pine and cherry, test a conditioner or a light seal coat if blotching is a problem, but do not add one blindly: it can reduce oil absorption and make the final color weaker. End grain also absorbs more finish and may turn darker; sanding it one grit finer can help, though a sample is the only reliable check. Keep sanding dust and oil off adjacent surfaces, since stray oil can leave marks that are hard to remove.
Cure time and safety
Dry-to-touch is not the same as fully cured. Ventilate the work area, follow the label for handling and recoating, and do not put a finished tabletop into service until the stated cure period has passed. Oil-soaked rags can heat up and ignite as they dry. Lay them flat outdoors to dry safely, or store and dispose of them according to the product instructions and local rules; never leave a crumpled oily rag in a pile or a bin.
If the project needs a durable, washable surface, an amber oil look can still be achieved with an oil-based varnish or a compatible topcoat system. The trade-off is a more visible film and potentially more sheen. For a shelf or decorative object with light use, a simpler oil finish may be perfectly adequate and less expensive. Choose based on the wood’s test sample and the demands of the surface, not the name on the can.

0 Comments