What's inside
As an Amazon Associate I earn from qualifying purchases. This post may contain affiliate links at no extra cost to you.
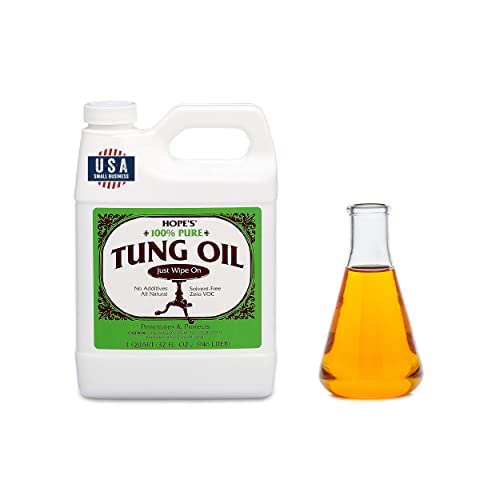
Tung oil is a good choice when you want bare wood to look like wood, not like it has been sealed under a thick plastic film. It deepens the grain and leaves a low-sheen finish, but it takes patience: several thin coats and a long cure beat one heavy application. Check the product label before starting, because many finishes sold as “tung oil” are blends with different drying times and application directions.
As an Amazon Associate we earn from qualifying purchases at no extra cost to you.

Our Top Picks
 Sunnyside Corporation 872G1S Boiled Linseed OilGallon4.15 x 6.64 x 10.32 inches8.25 poundsCheck on Amazon
Choose the right oil
Pure tung oil contains tung oil without added varnish or mineral spirits. It penetrates slowly and can take days between coats, with a cure that may take weeks. “Tung oil finish” is often a blend of oil, solvent, and varnish. It usually dries faster and builds more surface protection, but may look glossier and less natural. Read the ingredients and instructions rather than relying on the front-label name.
| Type | What to expect | Best fit |
|---|---|---|
| Pure tung oil | Slow drying, subtle build, long cure | Projects where a soft, close-to-the-wood look matters more than speed |
| Tung oil blend | Usually easier to apply and quicker to dry; protection varies | General indoor furniture when you want a simpler schedule |
| Wiping varnish | More protective film, often more sheen | Surfaces needing better resistance to spills and wear |
For a first project, a clearly labeled, ready-to-use blend is often the easier buy. Pure oil is not automatically more durable or better. If you choose pure oil, check whether the maker allows thinning for the first coat; do not assume every product should be thinned.
Prepare the bare wood
Remove old finish, glue, and dust before applying oil. Sand with the grain, usually finishing at 180 or 220 grit for furniture. Going much finer can burnish some woods and reduce absorption, leaving an uneven-looking surface. Vacuum thoroughly, then wipe with a clean, dry cloth. Avoid a tack cloth if it leaves wax or residue.
Test the oil on an offcut or an inconspicuous spot. Oil usually darkens wood and makes figure more visible; it can also emphasize scratches, glue smears, and color differences. On oak, open pores remain visible. On maple, the change may be subtler, though blotching can show. If the test looks too dark, too shiny, or patchy, stop and adjust the preparation or choose another finish.
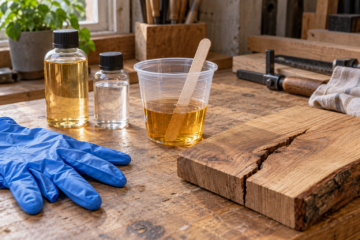
Apply at a reasonable room temperature, with good ventilation and no direct sun on the work. A pack of lint-free cotton rags is useful for spreading and wiping off oil. Wear gloves, and keep oil away from flames and heat sources.
Apply thin coats and wipe them dry
Stir the container gently if the label directs it; do not shake it and introduce bubbles. Spread a thin, even coat with a clean cloth or brush, working with the grain. Cover the whole piece so edges and end grain do not take oil unevenly. Let it sit only as long as the product instructions recommend. Then wipe off every visible trace of excess with a fresh rag. The surface should look evenly damp, not wet or glossy with puddles.
Leaving a thick coat is the most common mistake. Excess oil can wrinkle, stay tacky for days, or cure as a gummy film. Pay particular attention to corners, joints, and undersides, where oil collects. If the surface is still shiny or sticky after wiping, wipe again with a clean cloth.
Let the coat dry in a clean, ventilated area. Recoat only when it is dry to the touch and no longer tacky; depending on the product, temperature, humidity, and wood, that may mean overnight or several days. Apply two to four thin coats for a modest sheen, following the label’s timing. More coats can add depth, but do not make a weak oil finish suitable for standing water or hard daily wear.
Between coats and curing
If the first coat raises dust nibs or leaves a rough feel, lightly smooth it after it has dried with 320-grit paper or a fine nonwoven abrasive. Use a light touch, remove the dust, and apply the next coat. Do not sand a tacky surface: it will clog the abrasive and smear the finish.
Allow the final coat to cure before putting objects on the surface or using the piece. “Dry” and “cured” are different: a finish can feel dry while remaining soft underneath. Pure tung oil may need several weeks for a full cure, while blends may be ready sooner; use the maker’s stated schedule and extend it in cool or humid conditions. Do not rush a tabletop into service just because it no longer feels sticky.
Safety and maintenance
Oil-soaked rags can heat up as they oxidize and may catch fire. Never pile them in a trash can or leave them crumpled on a bench. Follow the product label and local disposal rules; a common safe approach is to spread rags flat outdoors to dry completely, away from buildings and combustibles, before disposal. Keep the area ventilated while applying and drying oil.
For routine care, dust with a soft cloth and wipe spills promptly. Tung oil is not a waterproof coating, and it offers limited protection against heat, scratches, and standing water. A dining table or kitchen worktop may need a film-forming finish if it will see frequent spills. For a decorative cabinet, shelf, or low-use object, an oil finish can be a sensible, repairable choice. If you want a more durable surface while keeping application simple, compare it with a wiping varnish for wood; it generally builds more protection but looks more like a coating.

0 Comments