What's inside
As an Amazon Associate I earn from qualifying purchases. This post may contain affiliate links at no extra cost to you.
A stained wooden serving board can look more distinctive than plain maple or walnut, but the stain adds a complication: anything applied to the wood must be fully cured and isolated beneath a finish suitable for incidental food contact. The best approach depends on whether the board is for serving bread and cheese or for cutting food. A serving board has more finishing options. A cutting board needs a simpler, more repairable surface.
As an Amazon Associate we earn from qualifying purchases at no extra cost to you.

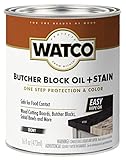


Our Top Picks
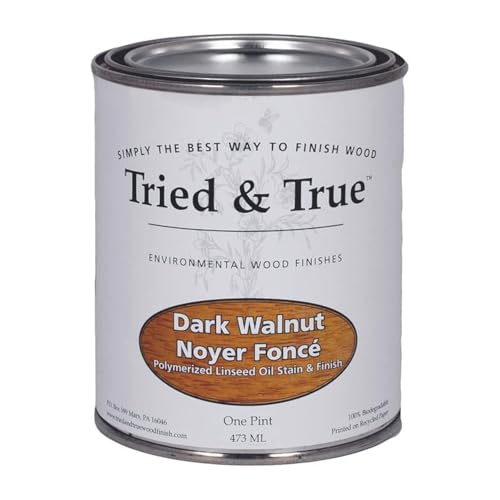


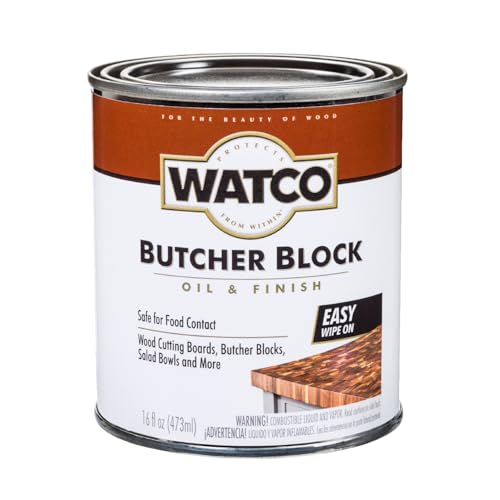

Choose the Right Wood
Use a closed-grain hardwood with a smooth, stable surface. Maple, beech, cherry, walnut, and birch are dependable choices. They sand cleanly, do not shed coarse fibers easily, and tolerate repeated wiping better than softwoods.
| Wood | Staining result | Durability and best use |
|---|---|---|
| Hard maple | Light, even, but often blotchy without conditioner | Very hard; excellent for heavy serving or cutting |
| Cherry | Usually stains evenly; darkens naturally with light | Stable and attractive; good all-purpose serving board |
| Walnut | Already dark, so use clear finish or a very light tint | Good dimensional stability; hides scratches reasonably well |
| Beech | Light and relatively uniform | Hard and economical; suitable for a budget project |
| Pine or other softwood | Often blotchy and uneven | Cheap, but dents quickly and is a poor choice for cutting |
For the most predictable stained appearance, cherry or beech is easier than hard maple. Maple can look excellent, but its tight grain often absorbs stain unevenly. Pine is acceptable for a decorative cheese board used lightly, but knife marks and dents will appear quickly.
Serving Board Versus Cutting Board
First decide how the board will be used. A serving board for dry foods, fruit, bread, or cheese can have a cured film finish over the stain. A board that will regularly receive knives should not rely on a brittle surface film. Knife edges can cut through it, leaving chipped areas where water and food residue collect.
For a cutting surface, use a penetrating finish such as food-grade mineral oil, normally without stain. Mineral oil is inexpensive, easy to renew, and will not turn rancid. A board wax made from mineral oil and beeswax adds water resistance, but it is not a permanent coating. Reapply when the surface looks dry, usually every few weeks to several months depending on use.
For a serving-only board, a cured water-based polyurethane or a durable hardwax oil can work over a compatible stain. Check the label for food-contact suitability after full cure, rather than assuming every “natural” or “non-toxic” finish is appropriate. “Food safe” and “food contact safe” claims vary, so follow the manufacturer’s cure time and use restrictions.
Pick a Compatible Stain
Use a water-based or oil-based wood stain intended for interior wood, then cover it with a finish that the stain manufacturer allows. Do not use exterior deck stain, pressure-treated wood products, paint, or an unidentified craft dye on a food-serving surface. Exterior products may contain mildewcides or other additives that are not suitable for this job.
Stain is mainly a colorant, not protection. It can also make raised grain, blotches, and sanding scratches more visible. If you want a darker board, test the complete schedule on an offcut: the same wood, sanding sequence, stain, and topcoat. A stain that looks brown in the can may become nearly black beneath a glossy finish.
Pre-stain conditioner can reduce blotching on maple, birch, and pine, but it also reduces color strength. A cheaper alternative is to apply a thin washcoat of finish or sanding sealer, allow it to dry, and sand lightly with 320-grit paper. Only use a sealer that is compatible with both the stain and the final finish.
Prepare the Wood Properly
Start with dry lumber or a blank board that has no cracks, loose knots, glue squeeze-out, or end-grain damage. Sand progressively through 120, 150, and 180 grit. For a serving board, finish at 180 or 220 grit. Sanding much finer can burnish the surface and make it absorb stain unevenly, especially with water-based products.
Ease the edges with a small round-over or a few hand-sanding passes. Sharp corners chip easily and feel uncomfortable to hold. Remove all dust with a vacuum and a clean, slightly damp cloth. Do not flood the wood with water before staining; excessive moisture can raise the grain and cause uneven color.
Apply stain in a thin, even coat, working with the grain. Wipe off excess according to the label, often after 5 to 15 minutes. Leaving a thick layer on the surface creates sticky patches and dramatically extends drying time. Allow the stain to dry completely before applying a topcoat. Oil stain may need 24 to 48 hours; cooler, damp conditions can require longer.
Apply the Food-Safe Finish
For a film finish on a serving-only board, apply two or three thin coats of a food-safe water-based polyurethane approved for the intended use. Lightly sand between coats with 320-grit paper only after the finish is dry. Thin coats reduce runs, cloudiness, and soft spots. Pay particular attention to the edges and end grain, which absorb more product.
A hardwax oil is easier to repair and gives a less plastic-looking surface, but it generally provides less resistance to standing water and abrasion than a good film finish. It is a practical choice for a serving board that will be wiped promptly rather than soaked. Apply it with a lint-free cloth, remove all excess, and provide plenty of ventilation while it cures.
Do not treat “dry to the touch” as fully cured. Keep the board out of food service until the finish has reached its stated cure time, commonly several days and sometimes two to four weeks for oil-based products. If the surface still smells strongly, feels rubbery, or marks under a fingernail, it is not ready.
Maintenance and Common Failures
Hand-wash the finished board with mild dish soap and warm water, then dry it upright. Do not put a wooden board in a dishwasher. Heat and prolonged moisture can split glue joints, warp the panel, and loosen a film finish.
White spots usually indicate trapped moisture beneath a finish. Sticky areas usually mean the stain or oil was recoated too soon. Peeling around the edges often means the topcoat was incompatible with the stain or the wood was contaminated with wax, grease, or sanding dust. If a serving board becomes deeply scratched, sand back to sound wood, remove the dust, and refinish the entire face rather than touching up one small patch.
For a low-cost project, beech or cherry with a carefully applied food-grade mineral-oil-and-wax finish is sufficient. Spend more on a film finish only when stain color, water resistance, or a decorative presentation matters more than easy repair.

0 Comments