What's inside
As an Amazon Associate I earn from qualifying purchases. This post may contain affiliate links at no extra cost to you.
Our Top Picks
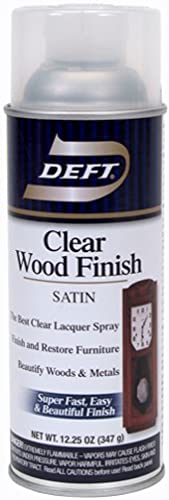 Deft Inc. Deft 037125017132 Interior Clear Wood Finish12.25 Ounce (Pack of 1)8 x 4 x 4 Inches0.1 poundsCheck on Amazon
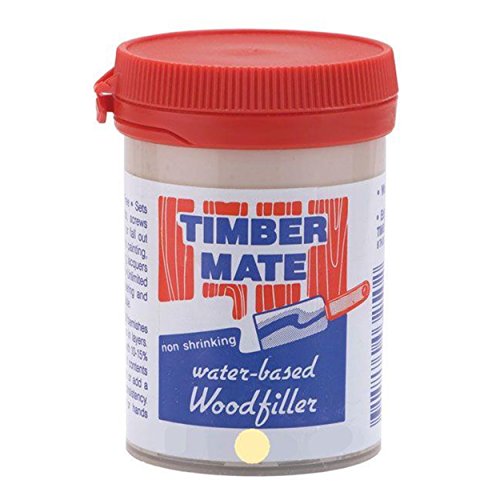
 Aqua Coat Water-Based Clear Wood Grain Filler GelPint3.55 x 3.55 x 4.2 inches1.14 PoundsCheck on Amazon
 AquaCoat Water-Based White Cabinet Wood Grain Filler Gel16 Fl Oz (Pack of 1)10 x 10 x 10 inches1.2 poundsCheck on Amazon
Why fill walnut before lacquering
Walnut is a ring-porous hardwood with open pores that can show as small pits and dark lines beneath a clear finish. Lacquer builds a film on the surface; it does not reliably fill those pores. If you want a smooth, level top, fill them first. If you like a more natural, textured surface, you can skip the filler and apply lacquer directly.
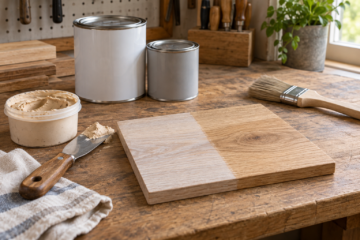
Filling is most noticeable on tabletops, cabinet doors, and other broad surfaces viewed in raking light. It is less important on carved work or pieces where a pore texture suits the design. The filler also changes the look: a contrasting color emphasizes the grain, while a close match makes the surface read more evenly.
As an Amazon Associate we earn from qualifying purchases at no extra cost to you.

Choose a filler that suits the job
For a traditional, highly level surface, use a paste wood filler made for open-grain hardwood. Water-based versions clean up easily and have less solvent odor; oil-based versions usually stay workable longer. Check that the product is compatible with both walnut and your lacquer system, and follow its instructions for thinning, application, and drying. “Dry” should mean ready for the next step according to the label, not merely dry to the touch.
A cheaper alternative is to build several coats of sanding sealer or lacquer and sand them level. That can work on small pieces with shallow pores, but it takes more coats and can leave pores visible after the finish shrinks. It is not a dependable substitute for filler when you want a flat, piano-smooth surface.
For a first project, a paste grain filler for wood is the straightforward choice. A water-based grain filler is a reasonable option if easy cleanup matters more than extra open working time.
| Approach | Best for | Trade-off |
|---|---|---|
| Paste grain filler | Wide, smooth surfaces and deep pores | Requires careful wiping and drying; color can shift the walnut’s appearance |
| Build with lacquer or sealer | Small pieces, shallow pores, or textured finishes | More coats and sanding; pores may still show through |
| Leave pores open | Natural, low-build look | Surface remains textured and is harder to clean perfectly |
Prepare and test the walnut
Sand the bare wood evenly, usually through 150 or 180 grit for a filled finish. Going much finer can burnish walnut and reduce how well stain or filler takes. Remove glue residue, which can appear as pale patches under stain, and ease sharp edges slightly so the lacquer film does not become thin and fragile there.
Vacuum the surface and wipe it with a clean, dry cloth. Avoid soaking walnut with water or using an oily tack cloth before finishing. If you plan to stain, test the full sequence—stain, filler, and lacquer—on an offcut from the same board. Filler can darken pores or pull color from the surrounding wood, and walnut varies considerably between boards.
Decide whether the filler should blend in or contrast. A dark brown filler often reinforces the pore pattern; a lighter one can make pores conspicuous and may look artificial. If you stain the wood, check whether the filler is intended to go on before or after stain. Follow the filler maker’s schedule rather than assuming the order.
Apply filler without leaving a film
Stir the filler thoroughly, including material at the bottom of the container. If the directions allow thinning, add only the specified thinner and amount. Work a small area at a time—about 2 to 3 square feet is manageable on a tabletop—so the filler does not dry before you can wipe it.
Spread a thin coat across the grain with a plastic spreader or stiff card, pressing it into the pores. Then scrape off the excess diagonally across the grain. When the filler turns dull or begins to firm up, wipe lightly with burlap, coarse cotton, or another clean, lint-free cloth, again working across the grain. The goal is to leave filler in the pores, not a thick layer on the face. Wiping aggressively along the grain can pull filler back out.
Let the filler dry for the full time on the label. Cool temperatures, high humidity, and a heavy application can extend drying. Sand gently with 220 grit on a firm block or sanding pad until the surface is clean and level. Avoid sanding through the filler at edges. If pores remain low, apply a second thin coat rather than trying to bury them with a thick film. A 220-grit sanding sponge can help with small details, but use a block on broad flat areas to avoid dips.
Seal and apply lacquer
Remove sanding dust thoroughly before sealing. Apply a compatible lacquer sealer or a thin first lacquer coat, following the product label for spray distance, recoat time, ventilation, and protective equipment. Lacquer solvents and atomized spray are hazardous: work with strong ventilation and suitable respiratory protection, and keep the work away from flames, sparks, and pilot lights.
After the first coat dries, inspect the surface under a light held at a low angle. If the pores are still visibly low, stop and fill again; more lacquer may bridge them temporarily but can shrink back later. If the surface is level, scuff-sand lightly with the grit recommended by the lacquer maker—often around 320 grit—and apply additional coats as directed. Do not sand through the finish on corners or edges.
Fix common problems
White or hazy pores: The filler may not have dried fully, or moisture may be trapped. Give it more time in suitable conditions before coating. Colored smears: Too much filler was left on the face. Sand back carefully after it dries, then apply a thinner coat and wipe sooner. Pores reappear: The fill was incomplete, or the film shrank. Refill before adding more lacquer. Uneven color: Filler or stain changed the walnut’s tone; test on an offcut before continuing with the visible surface.
For a small shelf or a piece with only modest texture, skipping filler and accepting visible pores is often the sensible, cheaper route. For a broad surface where reflected light exposes every pit, paste filler saves time compared with trying to build a level surface entirely from lacquer.

0 Comments