What's inside
As an Amazon Associate I earn from qualifying purchases. This post may contain affiliate links at no extra cost to you.
Wood filler and grain filler solve different surface problems. Wood filler repairs holes, cracks, dents, and open joints. Grain filler levels the tiny pores in porous wood so a finish looks flatter and smoother. Choosing the wrong one can leave you with a blotchy stain job, a finish that sinks into the pores, or a repair that remains visible after painting.
As an Amazon Associate we earn from qualifying purchases at no extra cost to you.

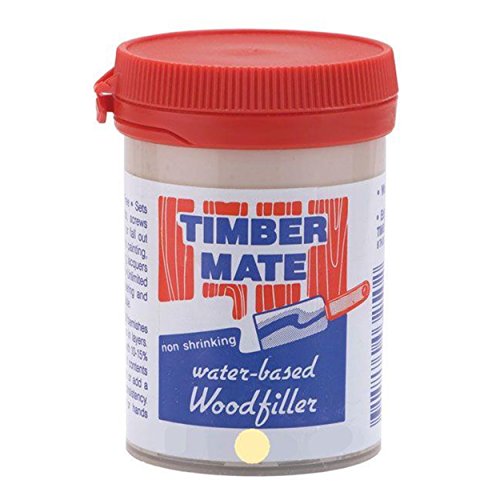

Our Top Picks
- Aqua Coat Water-Based Clear Wood Grain Filler GelPint3.55 x 3.55 x 4.2 inches1.14 PoundsCheck on Amazon

The Basic Difference
Wood filler is a repair material. It is usually thicker and may contain wood fiber, resin, or fine mineral solids. You press it into a defect, let it dry, and sand it flush. It is intended for localized repairs, although some products can be spread over larger areas before painting.
Grain filler is a surface-preparation material. It is a thin paste or slurry designed to pack the pores across an entire panel or piece of furniture. After it partially dries, you scrape or wipe off the excess, leaving filler in the grain. The goal is not to build up a patch, but to create a more level surface for lacquer, varnish, paint, or a high-gloss finish.
| Question | Wood filler | Grain filler |
|---|---|---|
| Primary job | Repair holes, dents, cracks, and gaps | Fill pores across a broad surface |
| Where to apply | Only on damaged areas, or over a surface before paint | Usually over the entire panel or project area |
| Best finish | Paint or opaque finishes | Clear finishes, stained work, and smooth painted work |
| Typical sanding | Sand flush, often from 120 to 180 grit | Remove excess, then sand lightly around 180 to 240 grit |
| Main failure | Visible patch, shrinkage, or poor stain absorption | Residue in the grain, pinholes, or a muddy appearance |
Use Wood Filler for Defects
Choose wood filler for nail holes, screw holes, small splits, dents, chipped corners, and gaps around joinery. It is also the practical choice for damaged veneer or imperfections that will be hidden under paint. For a broad range of repair work, a water-based wood filler is easy to spread, dries quickly, and cleans up with water before it cures.
Do not fill a moving joint with ordinary filler and expect it to stay intact. A gap caused by seasonal wood movement will often reopen. Repair the joint, improve the fit, or use a flexible caulk where the design allows it. Wood filler is also a poor substitute for missing structural wood. If a screw hole is stripped, a hardwood plug or a larger fastener may be more reliable than filler.
For deep defects, apply filler in layers rather than packing in a single thick mass. Many products shrink as water or solvent leaves them. A hole deeper than about 1/4 inch may need two or three applications, with drying time between coats. Follow the product label; a surface that feels dry can still be soft underneath.
Wood Filler Under Stain
Stain exposes the biggest weakness of ordinary wood filler: it rarely absorbs color exactly like the surrounding wood. A filled spot can appear lighter, darker, or unnaturally solid. This is especially noticeable on oak, ash, walnut, and cherry, and on wide flat panels viewed at an angle.
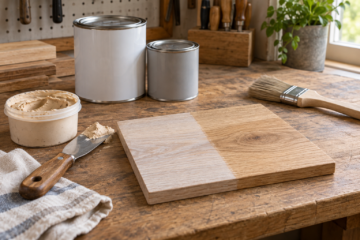
If the project will be stained, test the filler and stain together on scrap from the same board. Sand the test piece using the same grit you plan to use on the project. Some fillers are sold as stainable, but that only means they accept some color; it does not guarantee a seamless match. For small nail holes, a color-matched putty applied after staining can be less conspicuous than filling first.
For a repair that must disappear under a clear finish, use a filler made for the wood species and finish system when possible. You may also need to tint the filler. Even then, grain direction and surrounding figure can remain visible because filler recreates color, not the original wood fibers.
Use Grain Filler for Open-Pored Wood
Grain filler is most useful on open-pored species such as oak, ash, mahogany, walnut, and some varieties of elm. Without it, clear finish sinks into the pores and leaves a textured surface. That texture is not a defect if you want a natural, tactile finish. It matters when you want a piano-like gloss or a very smooth painted surface.
Start with a sanded surface, usually around 150 or 180 grit. Work the filler across the grain so it gets pushed into the pores instead of simply following them. Let it set until it becomes dull or reaches the label’s specified working stage, then scrape or wipe off the excess with a plastic scraper, burlap, or a firm cloth. Leaving a thick film on top creates extra sanding and can obscure the wood.
One coat may not be enough on very open oak or mahogany. Two thin applications are safer than one heavy coat. After it dries fully, sand lightly with 220 grit or finer, taking care not to sand the filler back out of the pores. A grain filler for open-pore wood is worth considering when you want the longest working time and a finish compatible with oil-based products.
Choosing for Painted Wood
For painted furniture, wood filler is usually the cheaper and faster option when defects are localized. Fill holes and dents, sand them flush, then apply primer. If the entire surface has coarse pores or a rough texture, spreadable filler or grain filler can reduce the amount of primer needed.
Primer is still important. It seals porous wood and helps reveal defects that filler alone may hide. After the first primer coat dries, inspect under strong side lighting. Sand raised fibers and fill remaining pinholes before the final coats. A high-build primer can handle minor texture more economically than filling every square inch.
Buying and Application Tips
Match the filler to the finish. Water-based filler is convenient and has low odor, but it can raise wood fibers and may dry quickly in a warm room. Solvent- or oil-based products often give longer working time, but require stronger ventilation and compatible cleanup materials. For a small indoor repair, the inexpensive paintable wood filler is usually sufficient.
Sand surrounding wood evenly before filling; a deep scratch beside a smooth patch can be more visible than the original defect. Remove dust before applying stain or finish. If you are filling an entire tabletop, buy enough material for a continuous application and practice on scrap first. For a small painted shelf with a few fastener holes, grain filler is unnecessary expense and effort. For a glossy oak cabinet door, it can be the step that separates a merely finished surface from a genuinely smooth one.

0 Comments