What's inside
As an Amazon Associate I earn from qualifying purchases. This post may contain affiliate links at no extra cost to you.
Our Top Picks
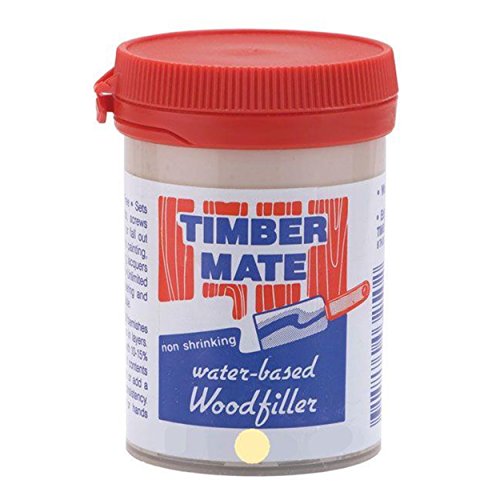
 Aqua Coat Water-Based Clear Wood Grain Filler GelPint3.55 x 3.55 x 4.2 inches1.14 PoundsCheck on Amazon
 AquaCoat Water-Based White Cabinet Wood Grain Filler Gel16 Fl Oz (Pack of 1)10 x 10 x 10 inches1.2 poundsCheck on Amazon
What Grain Filler Does
Grain filler levels the pores in open-pore hardwood so the finished surface feels and looks smoother. It is not the same as wood putty or ordinary sanding sealer. Putty repairs holes, cracks, and dents; grain filler fills the shallow channels that run through species such as oak, ash, walnut, mahogany, and some elm.
Without filler, those pores remain visible under a clear finish or stain. You can sand the surface perfectly flat and still feel the grain when you wipe across it. Filler is most useful when you want a piano-smooth painted surface, a glossy clear finish, or a dark contrasting pore effect. It is optional for a natural, low-sheen finish where visible texture is part of the look.
As an Amazon Associate we earn from qualifying purchases at no extra cost to you.

Choose the Right Type of Filler
Most grain fillers fall into water-based, oil-based, and solvent-based or paste formulations. The best choice depends on your finish schedule, working time, and how much cleanup you can tolerate.
| Type | Strengths | Drawbacks | Best use |
|---|---|---|---|
| Water-based | Low odor, quick drying, easy cleanup, low color change | Can raise the grain; may dry too quickly in warm conditions | Indoor projects and water-based topcoats |
| Oil-based | Long open time, easy to work into pores, often gives strong color | Slower drying, more odor, requires mineral spirits for cleanup | Large surfaces and oil-based finishing schedules |
| Solvent-based paste | Good pore filling and smooth spreading; often sands well | Strong odor and more demanding cleanup | Gloss work and traditional finishing |
For a first project, a water-based wood grain filler is usually the least troublesome option. Oil-based filler is often the better choice on a large tabletop because its longer working time gives you more opportunity to spread and remove excess material.
Prepare the Wood
Complete all glue-ups, trimming, routing, and repairs before filling. Grain filler will not hide uneven joints or deep dents. Remove glue squeeze-out carefully; even a thin glue film can prevent filler and stain from penetrating.
Sand the wood through the grit appropriate for your final finish. A practical starting sequence is 120, 150, and 180 grit. Stop at 180 grit on most open-pore hardwood. Sanding much finer than 220 can burnish the surface and reduce stain or filler adhesion, especially on dense walnut or mahogany.
Use a firm sanding block on flat areas and sand with the grain for the final pass. Vacuum the surface, then wipe it with a clean, lint-free cloth. Avoid saturating the wood with water unless you deliberately plan to raise the grain first. If you are using a water-based filler, lightly dampen the surface, allow it to dry, and sand away the raised fibers with 180 or 220 grit. This reduces roughness after the filler is applied.
Test Color and Adhesion
Always test on an offcut or an unseen area. Filler can change the final color, particularly on walnut and mahogany. A clear filler may leave pores lighter than the surrounding wood, while a tinted filler can create a strong “pore-filled” contrast. If the project will be stained, test the complete sequence: sanding, filler, stain, and topcoat.
Do not assume every topcoat will bond equally well. Let the filler cure according to its label, then apply a small amount of finish over the test panel. If it softens, wrinkles, or wipes away, the filler is not cured or the products are incompatible. When compatibility is uncertain, use a compatible sealer between the filler and topcoat.
Apply the Grain Filler
Stir the filler thoroughly from the bottom of the container. Do not whip it aggressively, since trapped air can leave pinholes. If the product is unusually thick, thin it only as directed by the manufacturer. Excess thinning can reduce solids and force you to apply extra coats.
Apply a manageable section at a time, usually 2 to 4 square feet. Use a plastic spreader, old credit card, rubber squeegee, or stiff cloth to push the filler across the grain. Working across the pores forces material into them. Then scrape diagonally or with the grain to remove the excess from the surface. Your goal is to fill the pores, not leave a thick film over the entire board.
Keep the coat thin. A heavy layer takes longer to dry and is harder to sand without cutting through the surrounding wood. Let the filler become dull and firm but not fully rock-hard before removing residue, if the product instructions allow that method. Some fillers are wiped while still damp; others must dry completely first. Follow the label rather than using one timing rule for every product.
Sand and Repeat as Needed
After the filler dries, sand lightly with 220 grit on a flat block. Sand only until the excess on the surface is gone. If you expose a large amount of bare wood or see shiny unfilled pores, stop and apply another coat. Two thin applications are generally safer than one thick application.
Use raking light to inspect the surface. Hold a work light low across the board; filled areas will look uniformly dull, while open pores show as dark lines or small depressions. Run your fingertips across the grain as well. A surface that looks smooth may still feel textured, especially with coarse oak.
For a very smooth painted finish, one coat may not be enough. Apply filler, sand it level, then use a suitable primer. Primer can reveal remaining pores and pinholes, which can be spot-filled before the final primer sanding. On a clear finish, avoid excessive sanding because it can create lighter patches around the filled pores.
Staining and Topcoating
If you plan to stain, decide whether the stain goes before or after the filler. Filling first usually produces a more even, less absorbent surface. Staining first lets the filler remain lighter or darker than the wood and is useful for a deliberate contrasting-pore effect. The sequence changes the result dramatically, so test it.
For a clear finish, allow the filler to cure fully. A wood sanding sealer can help isolate the filler and improve the consistency of the first topcoat, but it is not a substitute for properly filling deep pores. Apply thin finish coats and sand only as required between coats.
Common Failures and Fixes
If the filler shrinks into the pores, the coat was too thin, the product was over-thinned, or it had not cured before inspection. Apply another thin coat rather than trying to bury the problem under finish. If the filler pulls out during sanding, it was probably not cured or you used too much pressure. Wait longer and use a lighter touch.
Streaks usually come from uneven spreading or wiping in only one direction. Work in small sections and cross the grain while applying. Roughness after water-based filler is commonly caused by unraised fibers; pre-raise the grain or sand the cured filler lightly with 220 grit. For occasional furniture projects, inexpensive filler is perfectly adequate. Pay more for a premium product when you need predictable color, a long working time, or a large surface where rework would be costly.

0 Comments