What's inside
As an Amazon Associate I earn from qualifying purchases. This post may contain affiliate links at no extra cost to you.
Our Top Picks
 Aqua Coat Water-Based Clear Wood Grain Filler GelPint3.55 x 3.55 x 4.2 inches1.14 PoundsCheck on Amazon
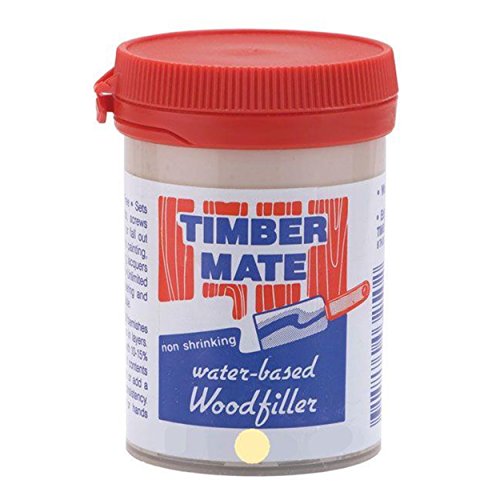
 AquaCoat Water-Based White Cabinet Wood Grain Filler Gel16 Fl Oz (Pack of 1)10 x 10 x 10 inches1.2 poundsCheck on Amazon
Why oak needs filling
Oak’s open pores are part of its look, but they make a clear, glass-smooth finish harder to achieve. A finish can bridge the pores briefly, then shrink as it dries and leave tiny depressions visible under reflected light. Filling the grain creates a flatter surface before the final coats go on. It does not make every piece of oak perfectly level: deep pores, uneven sanding, and patches of end grain can still show.
Decide first whether you want the pores hidden or merely less noticeable. A pore filler produces a nearly level surface; extra finish coats alone can soften the texture but usually take longer and may still leave the grain visible. Fillers are most useful on tabletops, cabinets, and other pieces where a smooth, reflective finish matters. For rustic furniture, a few finish coats may be enough.
As an Amazon Associate we earn from qualifying purchases at no extra cost to you.

Choose a filler that suits the finish
Check that the filler is compatible with your planned stain and topcoat. Water-based fillers are easy to clean up and have relatively little odor, but they may raise the grain and can dry quickly. Oil-based fillers tend to provide more working time, but require appropriate ventilation and cleanup. Always follow the product label; “water-based” or “oil-based” alone does not guarantee compatibility with every finish.
| Filler type | Good fit | Trade-offs |
|---|---|---|
| Water-based | Low-odor indoor work and water-based finishing systems | Can raise grain; fast drying may make large surfaces harder to wipe evenly |
| Oil-based | Longer working time and compatible oil-finish systems | Solvent cleanup, odor, and longer drying can add time |
| Clear finish only | Open-grain look and simpler, lower-cost projects | Usually will not create the same level surface as a dedicated filler |
For a small project, a ready-to-use wood grain filler is often more convenient than mixing a batch. Choose a color that suits the result you want: a contrasting filler emphasizes the pores, while a close match blends them. If you plan to stain, test the whole sequence on scrap from the same board. Filler can take stain differently from the surrounding wood.
Sand and test before filling
Prepare the oak carefully before opening the filler. Sand with the grain, starting with 120 grit if the surface has milling marks or scratches, then progress through 150 and 180 grit. On many furniture surfaces, 180 grit is a practical stopping point before filling. Sanding much finer can reduce stain absorption and may make the surface harder for some fillers to key into; check the filler directions.
Remove sanding dust with a vacuum and a clean, lint-free cloth. Avoid flooding the wood with water or solvent to clean it. If you plan to stain, test stain, filler, and topcoat together on an offcut. This catches color shifts, blotching, and adhesion problems before they become part of the finished piece. Oak generally stains more evenly than some species, but sapwood and end grain can still look different.
Apply filler in a thin, controlled pass
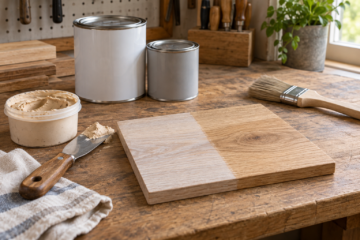
Work on a manageable area and follow the product’s temperature and drying instructions. Spread filler across the grain with a plastic scraper, flexible spreader, or stiff cloth, pressing it into the pores. Then scrape diagonally across the grain to remove as much excess as possible without pulling filler out of the pores. Leaving a thick film on the surface makes sanding slower and risks a cloudy, uneven appearance.
For large panels, divide the job into sections small enough to wipe before the filler starts setting. If the filler powders, drags, or refuses to come out of the pores during cleanup, the timing or application may be wrong. Let it dry fully as directed before sanding. Drying time varies with formula, coat thickness, temperature, and humidity; do not treat a touch-dry surface as ready if the label calls for a longer wait.
Use a plastic spreader rather than a metal blade on a delicate surface to reduce the chance of scratches. A metal scraper can still work on a flat, sturdy panel if used carefully. The cheaper option is fine if it has a clean, straight edge and does not gouge the wood.
Sand level without cutting through
Once the filler has cured, sand lightly with 220 grit, using a flat sanding block on broad surfaces. The goal is to remove the thin film left on top of the wood, not to dig filler out of the pores. Check the surface with a low-angle light: remaining shiny patches often indicate unsanded filler, while pale or bare-looking spots may mean you have cut through to wood.
Do not use a random-orbit sander aggressively at this stage. It can dish the wood or leave swirl marks that become obvious under a glossy finish. Hand-sanding with the grain gives better control, especially near edges. If a pore remains visibly low after sanding, apply another thin pass rather than trying to level the whole surface by removing more wood.
Topcoat and troubleshoot
Apply the sealer or topcoat only after the filler is fully dry and the surface is dust-free. Use the finish maker’s recommended sealer if one is specified. Build the coating in several thin coats rather than one heavy coat; heavy coats can sag, trap solvent, or cure unevenly. Between coats, follow the label for recoat timing and sanding. A final light sanding with 320 grit is common when the finish instructions allow it, but do not sand through the film.
If pores reappear after the first coat, the filler may have shrunk, been wiped out, or not been applied thickly enough in those areas. Let the finish cure as directed, sand back only as needed, and spot-fill or apply another full pass if the surface allows it. If the finish beads up or peels, stop adding coats: contamination or an incompatible layer may be the cause. Test adhesion and compatibility on a hidden area before proceeding.
A pore-filled surface takes more labor than simply coating open-grain oak, and the filler may slightly change the wood’s color. The trade-off is a flatter reflection and fewer visible pits. If a subtle grain texture is acceptable, skip the filler and spend the saved time on careful sanding and thin, even finish coats.

0 Comments