What's inside
As an Amazon Associate I earn from qualifying purchases. This post may contain affiliate links at no extra cost to you.
Our Top Picks

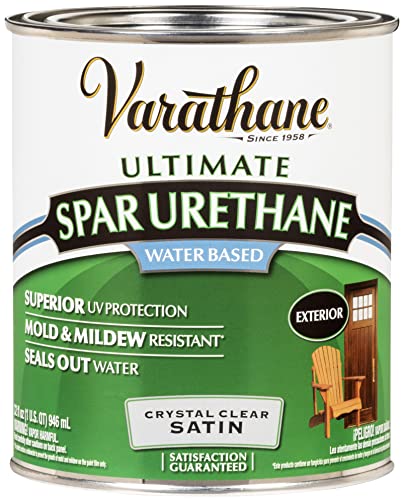

Choose a dye that suits the wood
Transparent wood dye colors the wood while leaving its grain visible. It is not the same as an opaque paint, and it may not hide scratches, glue marks, or uneven sanding. Check the product label before buying: dyes vary in whether they are water-based, solvent-based, or intended for interior or exterior use. Use a compatible clear finish if the dye itself does not provide enough protection.
Read the coverage and drying-time instructions, too. A small test on an offcut is worth the trouble, especially on blotch-prone woods such as pine, birch, and maple. Dye color can look very different on the actual wood than on a chart. For a broad choice of finishes, compare transparent wood dyes, and confirm that the product is suitable for your project and topcoat.
As an Amazon Associate we earn from qualifying purchases at no extra cost to you.
Gather tools and materials
A foam brush is inexpensive and works well on small, flat surfaces. Choose one wide enough to cover the work without repeatedly dipping; a 2-inch brush suits narrow trim, while a 3- or 4-inch brush is faster on panels. Foam brushes can shed or tear, so keep a spare. For a larger job, a good synthetic-bristle brush or lint-free pad may give you more control.
You will also need clean rags, a sanding block or sander, appropriate sandpaper, gloves, and a mixing stick. Use disposable foam brushes if you want to avoid cleaning, but do not leave a foam brush soaking in solvent unless its maker says it is compatible. Some solvents soften or dissolve foam.
Protect the bench and floor with a drop cloth. Follow the dye label for ventilation, skin protection, cleanup, and fire precautions. Put solvent-soaked rags in a safe, covered metal container or dispose of them as the product instructions and local rules require; some finishing materials can ignite as they dry.
Prepare the wood evenly
Remove hardware and dust, then sand the surface uniformly. For most bare interior wood, begin around 120 grit if it needs leveling and finish around 180 grit; very fine sanding can burnish the surface and reduce dye uptake. Follow the dye maker’s grit recommendation, since some products call for a different finish. Sand with the grain on the final passes, and ease sharp edges slightly because they absorb color quickly.
Inspect for glue residue, dents, and scratches under raking light. Glue is especially troublesome: dye may not penetrate it, leaving pale patches. Remove residue mechanically rather than trying to cover it with extra dye. Vacuum thoroughly, then wipe with a clean cloth suitable for the dye. Avoid a tack cloth if it leaves wax or residue that could interfere with the finish.
On blotch-prone wood, test the dye before treating the whole piece. A compatible conditioner or washcoat can reduce blotching, but it can also make the color lighter or less vivid. Test that system on scrap rather than guessing on the finished surface.
Apply the dye with a foam brush
Stir the dye gently until the color is uniform; do not shake it unless the label permits it, since bubbles can mark the surface. Pour a small amount into a clean container rather than dipping into the original can. Keep the lid on the can to limit evaporation and contamination.
Load the foam brush lightly. Spread dye along the grain in long, overlapping strokes, working from one edge to the other. Keep a wet edge so adjacent passes blend before drying. Do not press hard or scrub back and forth; that can create foam marks, bubbles, or uneven color. On vertical surfaces, apply thin coats and watch for runs at edges and corners.
Work in manageable sections. If a patch begins to dry before you blend it, avoid repeatedly brushing over it: you may lift or streak the color. Let it dry as directed, then assess the result in good light. If more depth is needed, apply another thin coat only after the stated recoat interval. A second coat is usually easier to control than one heavy coat.
Foam brush or another applicator?
| Applicator | Best for | Trade-off |
|---|---|---|
| Foam brush | Small flat panels, trim, and simple touch-ups | Cheap and disposable, but can tear, shed, or leave bubbles if overloaded |
| Synthetic-bristle brush | Edges, profiles, and larger pieces needing control | Reusable, but cleanup takes time and brush marks are possible |
| Lint-free cloth or pad | Wiping stains and broad, simple surfaces | Fast and inexpensive, but may leave lint or apply dye unevenly in corners |
A foam brush is a sensible low-cost choice when the surface is small and uncomplicated. It is not automatically the best tool for carved details or a large tabletop. For those jobs, a brush or pad may give steadier coverage. If you are comparing alternatives, lint-free staining pads are a practical option for wiping applications.
Dry, inspect, and protect
Let the dye dry for the full time on the label, not just until it feels dry. Temperature, humidity, and airflow affect drying; a cool or damp room can extend it. Do not apply a clear finish over tacky dye. Test the topcoat on a concealed spot or scrap, because some solvent-based products can move or alter certain dyes.
Before coating the entire piece, check the color from several angles and confirm that the surface is clean. Apply the clear finish in thin coats according to its instructions, sanding between coats only if the manufacturer calls for it. A compatible water-based or oil-based clear finish can add protection, but compatibility matters more than the finish’s general category.
Fix common problems
Streaks usually come from a dry edge, uneven sanding, or going back over a partly dried area. Let the surface dry, then follow the dye maker’s advice for another coat or correction; aggressive sanding can remove color unevenly. Pale spots often indicate glue, contamination, or a dense patch of grain. Dark edges can result from pooling, so wipe up excess promptly and use less dye on the next pass.
If the foam starts to break down or leave bits behind, stop and replace it rather than dragging debris through wet dye. For a large project, test the applicator and complete one small area first. That quick trial shows whether the dye, wood, and brush are working together before a visible mistake spreads across the whole piece.

0 Comments