Our Top Picks

What's inside
As an Amazon Associate I earn from qualifying purchases. This post may contain affiliate links at no extra cost to you.
For a first project, a wipe-on penetrating oil is the forgiving choice: no brush marks, no spray gear, and a bad patch can usually be re-coated. Watco Natural Danish Oil is the safest starting point on this list, since its title promises easy wipe-on application and a formula that enhances the grain. Every product here is an oil-type finish, from Danish oil to linseed oil to a linseed-and-beeswax blend, so this page does not cover polyurethane, shellac or wax. If you want a hard film on top later, our look at the best wood species for a two-step dye-and-topcoat finish is a good next read.
Short answers
As an Amazon Associate we earn from qualifying purchases at no extra cost to you.
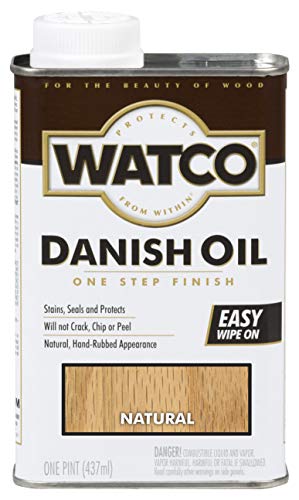


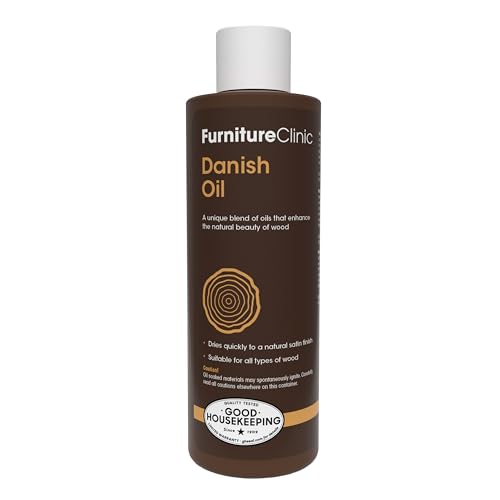


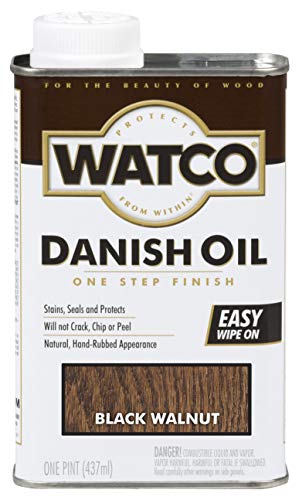


- Easiest all-round start: Watco Natural Danish Oil, quart.
- Colour without a separate stain: the tinted Watco quarts (Dark Walnut, Golden Oak, Black Walnut, Light Walnut).
- Small test project: Furniture Clinic Danish Oil, 8.5 oz.
- Listed as food safe: Tried & True Original Wood Finish, 8 oz.
Seven finishes at a glance
| Model | Key point from the title | Best for |
|---|---|---|
| Watco Natural Danish Oil, quart | Penetrating formula, easy wipe-on | First furniture project |
| Watco Natural Danish Oil, gallon | Same natural oil in a gallon | Several projects |
| Watco Natural Oil Finish, pint | One-step, dense hardwoods, marine and outdoor use | Outdoor-leaning pieces |
| Watco tinted Danish Oil, quarts | Dark Walnut, Golden Oak, Black Walnut, Light Walnut | Adding colour |
| Tried & True Original, 8 oz | Linseed oil and beeswax, food safe per title | Bowls and boards |
| Furniture Clinic Danish Oil, 8.5 oz | Satin finish, non-toxic per title | Small repairs and tests |
| Pure Linseed Oil, 5.3 oz | Fast curing per title | Small butcher blocks and bowls |
The finishes, one by one
Watco Natural Danish Oil, quart
The title describes a penetrating oil formula that enhances natural grain with easy wipe-on application for wood projects. That is exactly what a first-time finisher wants: rag it on, wait per the label, wipe the excess off. The natural tone is clear, so it deepens the wood rather than recolouring it. Read the label for coat count and cure time, since the title does not give them. Because the finish soaks in rather than sitting on top, mistakes are easier to correct than with a brushed film, which is why it works well when you are still learning.
Pros
- Easy wipe-on application named in the title
- Natural tone keeps the wood’s own colour
Cons
- Penetrating oils give a thinner protective layer than a hard film
- Title gives no cure-time or coverage figures
Who it’s for: first-timers finishing a table, shelf or small cabinet.
Watco Natural Danish Oil, gallon
This is the same natural Danish oil in a gallon can, per the Rust-Oleum Watco title. A gallon only makes sense if you have a run of projects or a large piece, such as a desk or set of shelves, because opened oil does not last forever. For a one-off project, the quart gives you more breathing room for mistakes at lower cost. Check the page for the net contents. If you are not sure you will finish more than one piece, buy the quart and revisit the gallon when you run low.
Pros
- Bigger volume for repeat projects
- Same natural formula as the quart
Cons
- Too much for a single small build
- Heavy and awkward to pour from
Who it’s for: woodworkers planning several projects or one big piece.
Watco Natural Oil Finish One Step Protection, pint
The title says it penetrates dense hardwoods, helps maintain a rich appearance and is designed for marine and outdoor use, in a pint. This is not a Danish oil, so do not assume the application steps are identical; read the can’s directions. The outdoor angle suits a bench or planter, though the title does not state how long protection lasts. Outdoor wood still needs periodic upkeep, so plan to re-coat when the surface looks dry or dull.
Pros
- Positioned for outdoor and marine use
- Pint size is low-commitment for small pieces
Cons
- Title does not give a protection period
- Different product family from the Danish oils
Who it’s for: beginners finishing a bench, planter or other outdoor piece.
Watco tinted Danish Oil quarts (Dark Walnut, Golden Oak, Black Walnut, Light Walnut)
Four listings share the same formula in different tints, each a quart of penetrating Danish oil with easy wipe-on application. Treat them as one product with a colour choice. Tinted oil lets a beginner colour and seal in one pass, but results vary by species, so test on a scrap board, and expect the colour to read deeper on end grain than on faces. Our guide to the two-step dye-and-topcoat finish covers the next step up.
Pros
- Colour and oil in a single product
- Four tints from light to dark
Cons
- Colour can look blotchy on some woods
- Hard to lighten once applied
Who it’s for: builders who want a warmer or darker tone than bare wood.
Tried & True Original Wood Finish, 8 oz
The title describes a linseed oil and beeswax blend, long-lasting, a food safe sealer and non-toxic. That makes it the listing to look at for cutting boards and bowls, though you should confirm food-contact claims in the manufacturer’s documentation. The 8 oz size suits a small build. Expect a more natural, low-sheen look than a film finish. Because it is a blend with wax, check the manufacturer’s documentation on whether you can top-coat it later.
Pros
- Food safe sealer wording in the title
- Simple ingredient description
Cons
- Small can covers limited area
- Title names no cure time
Who it’s for: makers finishing kitchen items and small decorative pieces.
Furniture Clinic Danish Oil, 8.5 oz satin
The title lists a satin finish, a non-toxic formula that enhances grain and colour, and a hard, durable finish that protects from blemishes and spills. The 8.5 oz bottle is handy for a first sample board. For a bed frame or similar piece, our species guide for a satin oil finish on a bed frame may help you pick the wood. Its 8.5 oz bottle is best seen as a sample size that lets you judge the sheen and colour before buying a bigger can.
Pros
- Small bottle is easy to test with
- Satin sheen named in the title
Cons
- 8.5 oz runs out quickly on larger pieces
- Durability claim is a listing statement rather than a verified result
Who it’s for: beginners who want to try an oil on a small project first.
Pure Linseed Oil, 5.3 oz (LIIZOUSUDA)
The title calls it pure linseed oil for furniture, butcher blocks and salad bowls, fast curing. The listing does not say whether this is raw or boiled linseed oil, and raw oil can be slow to cure, so read the page and the label carefully. It comes from a lesser-known brand, so check buyer feedback and the manufacturer’s documentation for food-contact use. Small bottles like this also lose freshness once opened, so buy only what a single project needs.
Pros
- Low-cost entry into oil finishing
- Small bottle suits a bowl or board
Cons
- Raw versus boiled is unclear from the title
- Unfamiliar brand, so documentation matters
Who it’s for: careful buyers on a tight budget who will read the label.
How we picked these
We started with ten wood finish listings supplied for this keyword and kept the ones that fit a beginner: wipe-on oils with simple application. Four tinted Watco quarts are grouped into one entry because they share a formula. Everything comes from published specifications, manufacturer documentation and buyer reviews as reflected in the listing text. Nobody on the team used or measured these units. Claims such as food safe or non-toxic come from the titles and should be checked in the manufacturer’s documentation.
What to look for in a beginner wood finish
Pick the look first: natural or tinted
Decide whether you want the wood’s own colour or something warmer. Natural oils darken the grain slightly but keep the colour honest. Tinted oils add colour in one step, which saves a separate stain but can blotch on woods such as pine. Always test on an offcut from the same board, because two boards cut from one tree can still take colour differently, and look at it in the light where the piece will live.
Wipe on, wait, wipe off
Most penetrating oils follow the same rhythm: apply generously with a rag, let it soak for the time on the label, then wipe off the excess before it gets tacky. Skipping the wipe-off is the usual cause of sticky patches. Always follow the can’s directions for coats and cure time, since the titles do not give them. Thin coats tend to cure more evenly than one heavy one, and a lint-free rag keeps fibres out of the surface.
Top-coating and troubleshooting
Oils can be left alone or topped with a film finish after the oil has cured. If a top coat forms craters, our guide on how to fix fish eyes in a wood topcoat explains common causes and fixes. Surface contamination from old polishes or silicone is a frequent culprit, which is another reason to wipe and test before coating.
Safety and a first-project checklist
Oil-soaked rags can heat up as the oil cures, so lay them flat to dry outdoors or keep them in a water-filled metal can, and follow the label. Work in a ventilated space and wear gloves. Worked example: a pine side table. Sand to the grit on the label, wipe off dust, test on scrap, apply a thin coat, wait, wipe off, then repeat. Ask three questions before buying: natural or tinted, indoor or outdoor, food contact or not.
Mistakes beginners make
The biggest error is leaving excess oil on the surface, which dries tacky instead of soaking in. Next comes skipping the scrap-board test and discovering a colour you dislike on the finished piece. People also assume every oil is food safe; only some titles say so. Finally, throwing oily rags in a pile is a fire risk, so spread them out or submerge them as the label directs. Rushing the cure time before use is another common slip. Buyers also grab the largest can for a single shelf, then watch the leftover oil thicken in a half-empty tin.
Verdict
Start with Watco Natural Danish Oil in the quart size. If you want colour, choose one of the tinted quarts after a scrap-board test. For kitchen items, Tried & True is the one listed as food safe. Whatever you choose, read the label for coats, wait times and rag safety before opening the can. If you need a cheaper first step, a small bottle of Furniture Clinic or Tried & True keeps the risk low while you learn the rhythm of wiping on and off.
First-timer finish FAQ
What is the easiest wood finish for a beginner?
A wipe-on penetrating oil such as Danish oil is generally the easiest. You apply it with a rag, let it soak in, and wipe off the excess, with no brush marks to worry about. The Watco Natural Danish Oil title promises easy wipe-on application. Always test on a scrap board and read the label for coats and cure time.
Is Danish oil food safe?
The Danish oil titles here do not say food safe, so do not assume it. Only the Tried & True listing calls itself a food safe sealer, and the Furniture Clinic title says non-toxic. For cutting boards or bowls, check the manufacturer’s documentation and the cure instructions before putting food in contact with the finish.
Should you choose a natural or a tinted oil?
Choose natural if you like the wood’s own colour and want the grain to deepen. Choose a tint such as Dark Walnut or Golden Oak if you want to add colour and seal in one pass. Tints can look uneven on some woods, so test an offcut before committing to the whole piece.
How many coats does a penetrating oil need?
The titles do not give coat counts, so follow the label. In general, penetrating oils are applied in thin coats, with the excess wiped off after the stated wait time. More coats usually deepen the look, but each needs time to cure. If you plan to top-coat, wait until the oil has fully cured as directed.
Are oily rags really a fire risk?
Yes, rags soaked in some oil finishes can heat up as the oil cures and in rare cases ignite. Lay them flat outdoors until dry or store them in a water-filled sealed metal container, following the label. Never bundle them in a bin. If you are unsure, read the manufacturer’s safety instructions before you start.
Related guides
- How To Strip Old Varnish From Furniture Without Sanding
- Random Orbital Sanders For Furniture Refinishing
- How Long To Wait Between Coats Of Polycrylic




0 Comments