As an Amazon Associate I earn from qualifying purchases. This post may contain affiliate links at no extra cost to you.
Most people buy a rotary tool for carving, mount a burr, lean into a piece of basswood, and get a fuzzy, burned groove that wanders off line. Then they blame the tool. The tool is usually fine. What went wrong is a mismatch between how the machine spins and how the cutter is designed to remove wood, and that mismatch is the single most useful thing to understand before you spend a dollar. This guide to the best rotary tool for wood carving starts with the mechanism, then gets to the shopping.
Here is the short version of the mechanism. A rotary tool does not cut like a chisel, which levers a shaving off with a sharp edge and controlled depth. A rotary tool abrades or scrapes with a cutter that is only in contact with the wood for a tiny fraction of each revolution. Think of a bicycle wheel with one small file glued to the rim: the amount of wood you remove per second depends on how often that file touches the surface and how deep it can bite. That is why surface speed, bit geometry, and your ability to hold the tool absolutely steady matter far more than the wattage printed on the box.
| Tool type | What it actually does well | Typical speed range | Best for |
|---|---|---|---|
| Corded rotary tool (Dremel-class) | General shaping, sanding, light carving | Roughly 5,000 to 35,000 RPM | Beginners, mixed shop duty |
| Cordless rotary tool | Detail work anywhere, no cord drag | Usually lower top end than corded | Small projects, on-site touch-ups |
| Rotary tool with flex shaft | Fine detail with a pencil-thin grip | Same as host tool | Relief carving, lettering, feathers |
| Dedicated micro motor carver | Sustained detail carving, low vibration | Often 1,000 to 50,000 RPM | Serious carvers, long sessions |
| Die grinder / high-torque rotary | Aggressive stock removal with burrs | Roughly 20,000 to 30,000 RPM | Roughing large blanks, power carving |
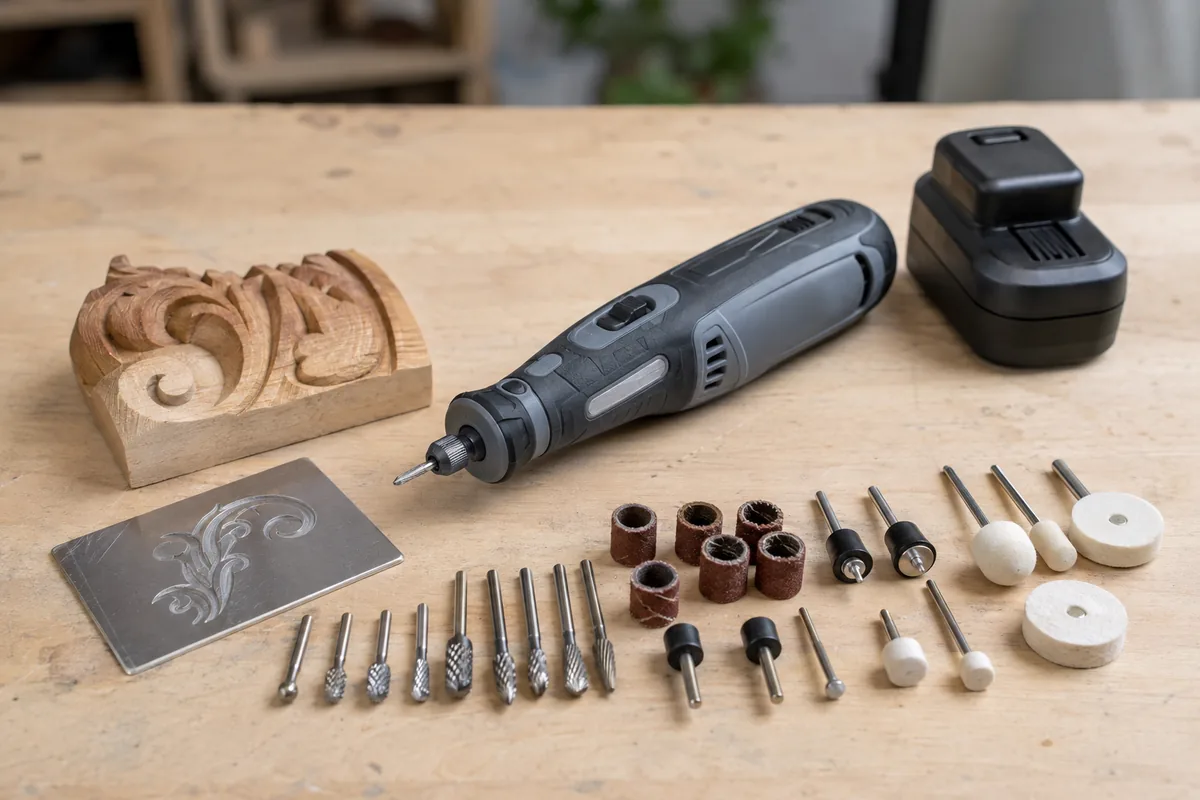
The misconception: more power means better carving
Nearly every beginner shops for amps or motor watts. That is the wrong number to fixate on, and here is why. When you are carving wood with a 1/8 inch shank burr, you are removing a curl of material weighed in fractions of a gram. The load on the motor is tiny. What actually stalls or bogs a rotary tool during carving is almost never lack of power, it is a loaded-up bit, a cutter spun too slow for its geometry, or a user pushing sideways because the bit is dull.
The numbers that genuinely change your results are these three. First, speed range, particularly how low it goes. A tool that only runs from 20,000 RPM up is hard to control on soft wood and will scorch. Being able to drop to 5,000 or 10,000 RPM is what lets you clean up a cut without melting the fibers. Second, runout, meaning how much the bit wobbles as it spins. A wobbling bit chatters, leaves a rippled surface, and numbs your fingers within twenty minutes. Third, grip diameter and weight at the tip. You steer a carving bit with your fingertips the way you steer a pen, so a fat, heavy body forces you to steer from the wrist, and wrist-steered lines wander.
If a tool has smooth bearings, a genuine low-speed setting, and a nose you can pinch like a pencil, it will out-carve a more powerful tool that fails those three tests. That is the whole hierarchy.
How to choose the best rotary tool for wood carving
Start by being honest about what you are carving. The tool that shines for chip-relief lettering on a small sign is not the tool for hollowing a bowl blank or roughing a bear out of a cedar chunk.
Detail and relief work. You want the smallest, lightest handpiece you can get, and low vibration matters more than anything else. A standard corded rotary tool paired with a flex shaft, or a micro motor carver with a slim handpiece, is the honest answer. The flex shaft moves the motor mass off your hand and onto a hook, which changes the ergonomics completely. It costs very little and improves control more than upgrading the motor would.
Roughing and heavy shaping. Here you do want torque, because you are running larger structured-tooth burrs and taking real bites. A compact die grinder or a purpose-built power carving unit holds speed under load and accepts 1/4 inch shanks, which resist bending in a way 1/8 inch shanks do not. Just understand this is a shaping tool, not a finishing tool.
Everything in between. A quality corded rotary tool with variable speed, a 1/8 inch and 1/32 inch collet or a keyless chuck, and the option to add a flex shaft covers the widest range of hobby work. It is also the platform with the deepest accessory ecosystem, which matters because you will spend more on bits over time than you spent on the tool.
Corded variable-speed rotary tool kit
For most people getting into carving, a corded variable-speed rotary tool is the sane first purchase. Prioritize a listing that states the low end of the speed range, includes multiple collet sizes or a keyless chuck, and is compatible with a flex shaft attachment. Skip the giant 200-piece accessory kits; the bits included are mostly grinding stones and cutoff wheels you will not use for wood.
Bits do the carving, not the motor
This is the part that gets skipped, and it explains most bad results. Carving bits fall into a few families, and each one wants a different speed and a different touch.
Carbide burrs with structured or coarse teeth shear wood fibers and clear their own chips. They are the ones that actually remove material fast, and they generally like high speed with a light touch. Steel cutters and fluted bits cut cleanly in hardwoods at moderate speed but clog quickly in soft, resinous wood. Diamond and stone points abrade rather than cut. They are excellent on very small details and terrible for stock removal, and they burn wood readily because abrasion generates heat. Sanding drums and flap wheels are finishing tools and want the lowest speed you can use, because heat is what glazes both the abrasive and the wood.
The single most common error is running a stone point or sanding drum at full speed on basswood and calling the resulting black smear a burn mark caused by a cheap tool. It is a speed and heat problem. Slow down, keep the bit moving, and let the geometry do the work.
- ✔ Variable speed with a genuine low setting gives control on soft woods
- ✔ Flex shaft attachments dramatically improve fingertip control for detail work
- ✔ Accessory ecosystems are huge and inexpensive for the common 1/8 inch shank
- ✔ Same tool does sanding, polishing, and small metal work between carving projects
- ✘ Long carving sessions transmit vibration to your hand and fingers
- ✘ Cheap tools develop bearing runout that ruins fine surface quality
- ✘ Wood dust is fine and airborne, so respiratory protection is not optional
- ✘ Aggressive burrs remove material faster than beginners can react, so mistakes are permanent
Setup and technique that make a mediocre tool perform
Chuck your bits short. A burr sticking a full inch out of the collet acts like a lever arm and amplifies any runout at the tip, which is exactly where you need precision. Seat the shank as deep as the collet allows while leaving the cutting head clear.
Cut with the side of the burr, not the tip, and move against the direction of rotation so the cutter pulls into the wood rather than skating across it. Let the bit float on the surface with almost no downward pressure. If you have to push, the bit is dull or loaded, and pushing harder only adds heat.
Clamp or cradle the work. Holding a blank in one hand while a spinning burr grabs it is how people get hurt, and it also guarantees inconsistent depth. Support your carving hand on the workpiece or a bench block so the tool moves in small controlled arcs.
Take dust seriously. Wood carving with rotary tools produces very fine particles that stay suspended long after you stop. A fitted respirator, eye protection, and either downdraft extraction or a fan pulling air away from your face should be part of the setup, not an afterthought. Some species, walnut and exotic hardwoods among them, are notable sensitizers.
Flex shaft attachment
If you already own a rotary tool and your detail work looks shaky, buy this before you buy another tool. Moving the motor weight off your hand lets you grip near the bit like a pencil. Check that the collar thread matches your tool brand, hang the motor above the work so the cable stays in a gentle curve, and never let the shaft kink tightly.
Carbide burr set for wood
Buy burrs sold specifically for wood, with coarse or structured teeth, rather than the fine-tooth metalworking burrs that clog instantly in soft species. A handful of shapes covers almost everything: a ball or oval for hollowing, a flame or taper for grooves and detail, and a cylinder for flats. Match the shank to your collet before ordering.
Frequently asked questions
Is a rotary tool good enough for real carving, or do I need a proper power carver? A quality variable-speed rotary tool handles small figures, relief work, lettering, texture, and cleanup very well. Where it runs out of road is sustained heavy stock removal on large blanks, because the small motor and small shank were not designed for that load. If most of your work is bigger than your hand, add a die grinder or dedicated carver for roughing and keep the rotary tool for finish detail.
What speed should I actually use? Treat it as a range and adjust by feel. Carbide burrs generally want high speed with light pressure. Sanding drums, flap wheels, and stone points want noticeably lower speed to avoid heat and glazing. If you smell scorching or see a dark polished streak, drop the speed and keep the bit moving. Soft woods like basswood burn more easily than dense hardwoods, which is the opposite of what most beginners assume.
Cordless or corded for carving? Corded, if you are choosing only one. Carving sessions run long, cordless tools usually have a lower top speed and add battery weight right where you grip, and a cord is a minor nuisance compared to a dead battery mid-cut. Cordless makes sense as a second tool for quick detail work or when you carve away from an outlet.
Buy for control, not horsepower: a real low-speed setting, smooth bearings, a slim nose you can pinch, and good wood-specific burrs. That combination will carve better than a stronger tool that vibrates and only knows how to run fast.
Check prices on Amazon →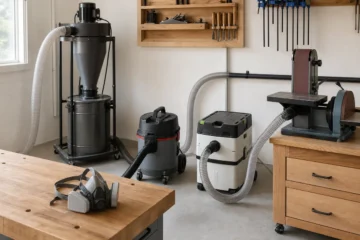

0 Comments