Our Top Picks




What's inside
As an Amazon Associate I earn from qualifying purchases. This post may contain affiliate links at no extra cost to you.
Here is the scene that sends a brand new band saw to the back corner of the shop. You bolt on the table, put on whatever blade came in the box, and try to resaw a five-inch piece of cherry into two book-matched panels. The cut starts clean, then bows. By the top of the board the blade has wandered off the line, the offcut is a wedge instead of a panel, and you spend twenty minutes at the planer rescuing something that should have come off the saw nearly finished. So you decide the machine is junk.
It almost never is. A band saw is one of the most versatile machines in a shop — resawing, curves, joinery — but out of the box it needs tuning. Skip setup and you’ll blame the saw for problems that are really adjustment. Here’s the walkthrough.
As an Amazon Associate we earn from qualifying purchases at no extra cost to you.


The misconception: a saw either cuts straight or it doesn’t
Most tools in the shop are pass-or-fail out of the crate. A drill either runs true or it doesn’t. A band saw is not like that, and this is the part that trips people up. It is a system of five things that all have to agree with each other: the tension on the blade, where that blade tracks on the wheels, how closely the guides support it, whether the table is square to it, and whether the blade itself is the right one for the cut. Get four right and one wrong and the saw still cuts badly, which is why setup feels mysterious. It isn’t. It just has to be done in order.
The good news is that all five adjustments are free, they take under an hour the first time, and they hold. This is the rare case where fussing with a machine pays a permanent dividend instead of a temporary one.
Step 1: Tension and tracking
Proper blade tension keeps cuts straight; tracking centers the blade on the wheels. Set tension to the blade width, then adjust tracking so the blade rides the crown of the tire. This alone fixes most “bad” band saws.
Treat the tension scale stamped on your saw as a starting point, not gospel. Those scales are calibrated for one assumed frame stiffness and they drift as the spring ages. A more reliable check: back the upper guides all the way up, then push sideways on the blade midway between the wheels with moderate finger pressure. A properly tensioned blade gives a small amount of deflection and springs right back. A blade you can push a long way is loose, and a loose blade is the single most common cause of a bowed resaw.
The other approach, and the one experienced users trust, is the flutter test. Back the tension off until the blade visibly flutters while the saw is running, then raise tension just until the flutter stops and add a touch more. That tells you what this blade on this saw needs, which is what you actually want to know.
For tracking, rotate the upper wheel by hand while you tilt it, and watch where the blade settles. It should sit on the crown of the tire, roughly centered, and stay there. If it will not settle, clean the tires with a stiff brush first — packed sawdust on rubber changes the crown and no amount of tilting fixes that.
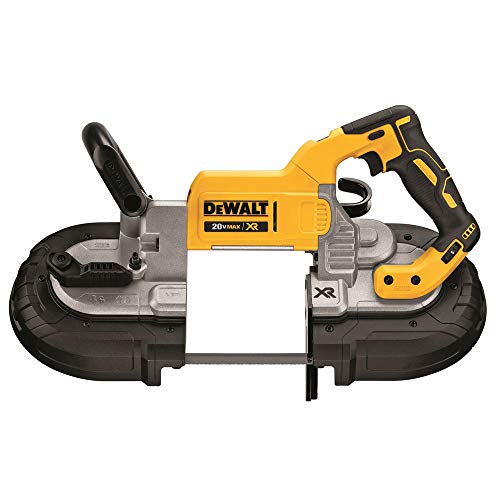
14-inch Band Saw
A 14-inch band saw with proper setup resaws boards, cuts tight curves, and handles joinery. Solid cast-iron table and enough resaw height for real work. Tune it once and it cuts clean for years.
Step 2: Set the guides
Adjust the upper and lower guides close to the blade — just shy of touching — to stop deflection. Then set the thrust bearings right behind the blade. Careful guide setup is the difference between wandering cuts and glass-smooth resaws.
Two details matter here more than the gap itself. First, the side guides have to sit behind the tooth gullets, not alongside the teeth. If the guide faces overlap the set of the teeth, you are grinding your blade every time the saw runs, and a blade you dulled yourself will drift no matter how well the rest of the saw is tuned. Second, the thrust bearing goes about a sheet of paper’s thickness behind the blade, close enough to catch feed pressure but far enough that it sits still when the saw idles. A thrust bearing spinning with no wood in the cut is set too tight and will not last.
Then do the lower guides. This is the step people skip because it means kneeling down and opening the lower door, and it is the reason plenty of saws still cut poorly after their owners “set the guides.” The blade is supported below the table as well as above it. Finally, drop the guide post so it sits just above the workpiece before every cut — unsupported blade above the wood is unsupported blade, and it flexes.
Step 3: Table, fence and drift
Square the table to the blade with a small engineer’s square, not the stop screw underneath, then set the stop to match. Check that the table insert sits flush; a proud insert lifts thin stock and a sunken one lets it dive.
Now deal with drift. Draw a straight line on a scrap and cut it freehand, letting the blade go where it wants. If your hands had to angle the board a few degrees to stay on the line, that is your drift angle, and you set your resaw fence to match it. Before you accept that, though, ask whether the drift is real: a blade with uneven tooth set, a dull blade, or a blade that has been ground by misplaced guides will pull hard to one side. Fixing that at the source beats compensating for it at the fence.
The blade is half the setup
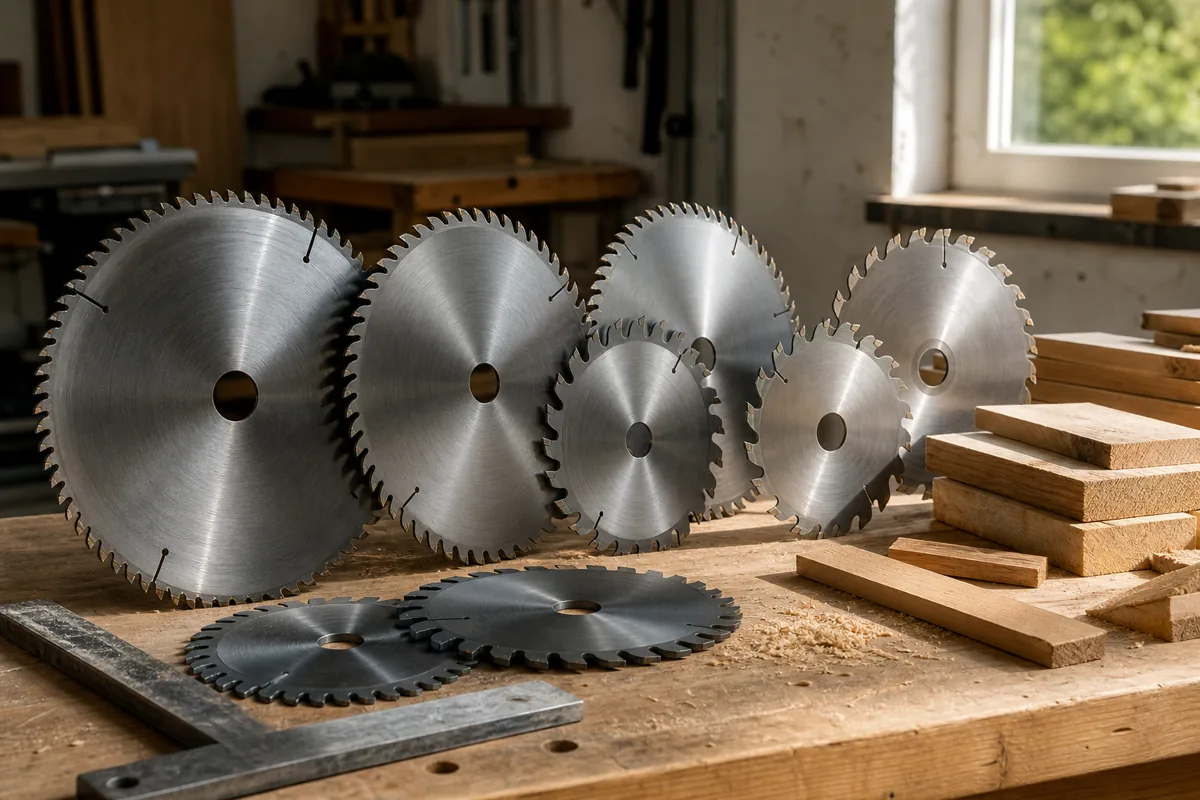
No amount of tuning makes the wrong blade cut well. Blade width controls how tight a curve you can turn and how straight the saw tracks, and those two things trade directly against each other. Narrow blades in the eighth-to-quarter-inch range turn tight radii and wander badly in thick stock. Half-inch and wider blades resaw beautifully and cannot follow a tight curve without binding.
Tooth count follows the same logic. Low tooth counts with deep gullets clear chips out of a tall cut, which is exactly what resawing needs; high tooth counts leave a smoother surface in thin material. The general rule is to keep at least three teeth in the wood at all times. A fine blade in a six-inch resaw packs its gullets, burns, and wanders — and the owner blames the saw again.
Budget for good blades. A quality blade on a modest saw outcuts a bargain blade on an expensive one, every time. Run a new blade gently for the first few minutes to hone the tooth edges rather than diving straight into hardwood.
What to look for if you’re still shopping
Frame rigidity. The frame has to resist the blade trying to pull the wheels together. Cast iron or heavy welded steel holds tension; thin stamped housings flex, and a flexing frame means you can never get enough tension for real resawing.
Resaw height under the guides. This is the number that decides what work you can do, and it is more useful than wheel diameter. Check whether a riser block is available for the model, because that is often the cheapest capacity upgrade you will ever buy.
Guide design and adjustability. Bearing or ceramic guides are easier to set precisely than plain steel blocks, but adjustability matters more than material. If the guides need three tools and a prayer to move, you will not fine-tune them, and untuned guides are the whole problem.
Motor and tension mechanism. Enough power to keep the blade moving through tall hardwood, plus a tension mechanism with a solid spring and ideally a quick-release lever. A vague, gritty tension screw is a bad sign about the rest of the build.
Table and fence. Cast iron for mass and flatness, a fence that locks parallel without deflecting, and a working dust port under the table.
At the small benchtop tier you are buying a curve-cutting machine. Judged as that, a good one has a cast table, guides that genuinely adjust, and enough frame to tension a quarter-inch blade. A bad one has an aluminum table that will not stay square and a tension spring that bottoms out. The classic mid-size cast-iron or steel-frame saw is the value sweet spot for most shops: enough rigidity for real resawing, wide blade support, and parts availability for years. Step up to the larger machines only if you resaw wide stock regularly — you are paying for height, horsepower and better guides, not better cuts on small work.
Who should skip a band saw entirely? If your work is straight rips in sheet goods, a table saw or track saw serves you better. If you cut the occasional curve in thin plywood, a jigsaw does that for a fraction of the space. The band saw earns its footprint the moment you want to resaw, cut veneers, or shape thick stock.
- ✔ Resaws & cuts curves
- ✔ Setup fixes most issues
- ✔ Cast-iron stability
- ✔ Versatile joinery
- ✘ Needs tuning out of box
- ✘ Good blades matter
Common mistakes, and how to avoid them
- Over-tensioning. More is not better. Excess tension kills wheel bearings, fatigues blades early, and on a light frame it does not even increase the tension at the blade.
- Guides touching the teeth. Set the guide faces behind the gullets. This one mistake dulls blades faster than cutting does.
- Ignoring the lower guides. Half your blade support lives below the table.
- Forcing the feed. A band saw wants steady, moderate pressure. Pushing hard deflects the blade and produces the bowed cut you were trying to avoid.
- Wrong blade for the job. Fine teeth for resawing, wide blades for tight curves. Both fail, and neither failure is the saw’s fault.
- Leaving the guide post high. Ten seconds per cut buys you a straighter line.
FAQ
How tight should the blade actually be?
Tight enough that it barely deflects under moderate side pressure with the guides backed off, or tight enough that the flutter just stops while running. The stamped scale gets you close, but it assumes a factory-fresh spring and one frame stiffness, so verify it by feel or by flutter rather than trusting the mark.
Should I release the tension when I’m done for the day?
It is a reasonable habit, mainly to protect the tires and the spring, and a quick-release lever makes it painless. The important part is remembering to re-tension before you switch the saw on — running a slack blade is far worse for it than leaving it tight overnight.
Why does my saw cut a curve when I’m trying to cut straight?
In rough order of likelihood: the blade is dull or has uneven set, tension is too low, the guides are not supporting the blade, or you are feeding too hard. Rule out the blade first by fitting a fresh one. If a new blade cuts straight, the old one was the problem, not your setup.
Can a mid-size band saw really resaw?
Yes, within its height. With correct tension, a wide low-tooth-count blade, tight guides and a fence set to the drift angle, a well-tuned mid-size saw produces resawn faces that need only light cleanup. The limit is capacity under the guides, not quality of cut.
Dial it in
Spend an hour on setup and your band saw transforms. Keep a quality resaw blade on hand for thick stock. Pair it with a lathe and you’ve got a serious project shop.
Then build the ten-minute habit: check tension, glance at tracking, drop the guide post, and cut. Almost everything people dislike about band saws lives in the gap between an untuned machine and a tuned one, and that gap closes with a wrench and a square.

0 Comments