What's inside
As an Amazon Associate I earn from qualifying purchases. This post may contain affiliate links at no extra cost to you.
Knots are one of the most common reasons a painted wood project fails. Even after several coats of paint, resin can migrate through the finish as yellow, brown, or reddish stains. The problem is especially common with pine, fir, spruce, cedar, and other resinous softwoods. Paint does not reliably seal knots by itself; the knots need a primer that blocks the resin before the finish coats go on.
As an Amazon Associate we earn from qualifying purchases at no extra cost to you.

Our Top Picks
 Quart Kilz Original Interior Oil Based Sealer-Primer-Stainblocker1 Fl Oz (Pack of 1)11 x 9 x 8 inches2.95 poundsCheck on Amazon
Why Knots Bleed Through Paint
Wood knots contain concentrated resin and pitch. As the wood warms, the resin softens and moves toward the surface. Sunlight, indoor heating, dark paint colors, and warm storage areas can make the problem worse. Fresh knots are usually the biggest risk, but old knot stains can also reactivate when coated with water-based products.
Standard latex or acrylic primer may hide a knot temporarily, but it often does not lock in the resin. The stain can return days or weeks later, sometimes after the finish appears completely cured. Paint that is applied too thickly can also wrinkle or remain soft over a resinous spot.
Choose a Knot-Sealing Primer
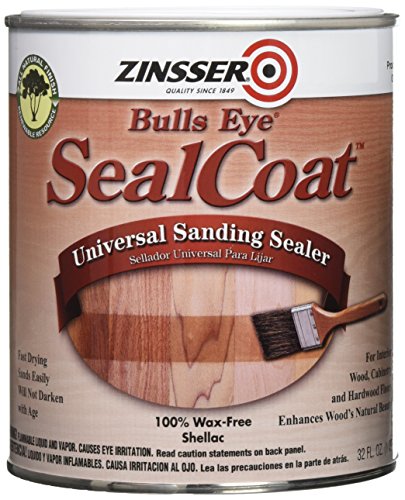
For dependable results, use a stain-blocking primer made with shellac or an oil-based resin-blocking formula. Shellac-based primer is usually the strongest choice for isolated knots because it dries quickly and blocks tannins, resin, and smoke stains. Oil-based stain-blocking primer is also effective, particularly on larger areas, but it takes longer to dry and has stronger fumes.
| Primer type | Best use | Advantages | Drawbacks |
|---|---|---|---|
| Shellac-based | Individual knots and severe bleed-through | Excellent stain blocking; dries in about 15–45 minutes | Strong odor; cleanup requires denatured alcohol or the product’s specified solvent |
| Oil-based stain blocker | Many knots or broad resinous areas | Good sealing; often less expensive per ounce | Typically needs several hours to dry; cleanup requires mineral spirits |
| Water-based stain blocker | Light staining and low-odor interior work | Easy cleanup and lower odor | Less dependable on active knots and heavy resin |
If you are buying specifically for knot sealing, look for a shellac-based stain-blocking primer. A small aerosol can is convenient for a few knots, while a quart is more economical for furniture, trim, or paneling with many knots. The cheaper water-based primer is fine when the wood is already sealed, the knots are old and clean, and the project has little exposure to heat—but it carries a higher risk of bleed-through.
Prepare the Wood Before Priming
Start with dry, clean wood. If the lumber is new, allow it to acclimate indoors until its moisture content is reasonably stable. Interior wood should generally be below about 12 percent moisture before painting. Damp wood can cause adhesion problems regardless of which primer you use.
Remove loose bark, raised resin, and dirt from each knot. A sharp scraper or putty knife can lift hardened pitch, but do not gouge the surrounding wood. For sticky resin, wipe the area with the solvent recommended on the primer label, then allow it to evaporate fully. Do not mix solvents or use a cleaner that leaves an oily residue.
Sand the entire piece with 120- or 150-grit abrasive to remove mill glaze and smooth rough fibers. Sand resinous spots carefully; aggressive sanding can smear pitch across the surface. Vacuum the dust and wipe with a clean, dry cloth. Avoid soaking unfinished wood with water before priming, since raised fibers create extra work and can trap contamination.
Apply Primer to the Knots
Stir the primer gently rather than shaking it, especially if you are using a brush or roller. Apply a thin coat directly over every knot and any visible resin pocket. Extend the primer 1 to 2 inches beyond the stained area. A small disposable brush works well for liquid primer; use short, even strokes and do not scrub the coating back and forth.
With aerosol primer, hold the can roughly 8 to 12 inches from the surface and apply several light passes instead of one wet coat. Heavy application can sag, wrinkle, or trap solvent. Follow the can’s recoat time; “dry to touch” is not always the same as ready to sand.
For difficult knots, apply two sealing coats. The second coat is worthwhile if the knot is dark, glossy with resin, or located on exterior trim exposed to sun and heat. Let the first coat dry completely before recoating. If the primer remains tacky, soft, or wrinkled, stop and allow more drying time rather than covering it with paint.
For a large area with many knots, you can prime the entire surface with oil-based stain-blocking primer. This costs more than spot-priming but gives more consistent color and adhesion. Spot-priming is the cheaper option when the boards are mostly clear and only a few knots are present.
Sand and Paint After Sealing
Once the primer has cured according to its label, lightly sand rough edges or brush marks with 220-grit paper. Do not sand through the sealed knot. Remove the dust, then apply a compatible primer or topcoat if the product instructions call for it.
Most quality acrylic or latex paints can go over fully cured shellac or oil primer. Use two thin finish coats rather than one thick coat, allowing the stated recoat time between them. Thick paint does not improve stain blocking and can make later repairs more obvious.
Check for Bleed-Through Before Finishing
Inspect the primed surface under the same lighting where it will be used. Yellow or brown halos indicate that resin or tannin is still migrating. Spot-seal those areas again and wait for the primer to dry before painting. If bleed-through continues across many knots, the practical fix is another full sealing coat, not more finish paint.
On exterior work, use a primer labeled for exterior exposure and keep the wood protected from rain during curing. Primer can block knots, but it cannot correct movement, moisture intrusion, or poorly prepared joints. Sealing the knots is one part of a durable paint system; dry wood, sound construction, and adequate topcoat thickness matter just as much.


0 Comments