What's inside
As an Amazon Associate I earn from qualifying purchases. This post may contain affiliate links at no extra cost to you.
For a painted window frame where the corners and glazing edges need to look sharp, choose clear, straight-grained pine for the best balance of cost and workability. If the frame will see frequent condensation or you want fewer knots and less resin trouble, use poplar. Either can take paint well when it is dry, sound, and properly primed. The quality of the stock and preparation matters more than choosing an exotic hardwood.
As an Amazon Associate we earn from qualifying purchases at no extra cost to you.



Our Top Picks
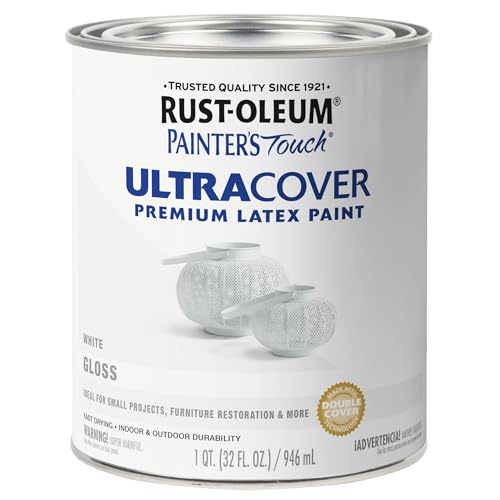 Rust-Oleum Painter's Touch Latex Brush-On Paint1 Quarts (Pack of 1)5 x 5 x 8 inches2.4 poundsCheck on Amazon
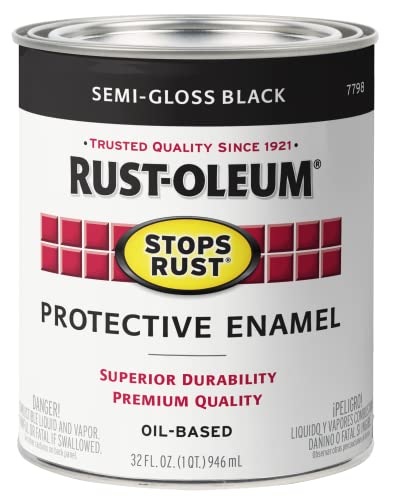 Rust-Oleum 7798502 Stops Rust Brush On Paint32 Fl Oz (Pack of 1)4.5 x 4.5 x 5.25 inches2 poundsCheck on Amazon
 THE ONE All-In-One Paint & Primer33.8 Fl Oz (Pack of 1)4.5 x 4.5 x 5 inches3.1 PoundsCheck on Amazon


Choose by location and exposure
Interior casing around a window is less demanding than an exterior sill or frame exposed to rain. For indoor trim, dry pine or poplar is usually sufficient. For exterior work, use a species and construction rated for exterior exposure, and follow the window manufacturer’s material and finishing requirements. Ordinary interior-grade poplar is not a good choice for a wet exterior location: paint slows moisture movement but does not make the wood rot-proof.
Check the board before buying. Look for straight grain, no loose knots, and no checks at the ends. A knot can telegraph through paint, release resin, or make a narrow profile hard to machine cleanly. If you are painting a small frame, buying clear stock may cost more per foot but waste less material than cutting around knots in a cheap board.
| Wood | Paint performance | Best use | Main trade-off |
|---|---|---|---|
| Clear pine | Good with sound, knot-free stock and primer | Interior frames and trim on a budget | Soft grain dents; knots and resin can show through |
| Poplar | Very good; usually smooth and easy to shape | Interior painted trim and crisp profiles | Costs more than common pine; not suited to persistently wet locations |
| Finger-jointed pine | Good if joints are tight and the surface is primed | Long, straight interior stock at moderate cost | Defects or joint lines may show under a thin finish |
| Oak | Paintable, but needs careful filling and priming | Use when matching existing oak or using stock already on hand | Open pores can leave a textured finish; usually unnecessary for painted trim |
Pine or poplar?
Poplar is the safer pick when the finish will be a light, smooth satin or semigloss and the frame has narrow edges, small returns, or detailed molding. It machines cleanly and has fewer knots than ordinary construction pine. Its greenish or purplish color is irrelevant under an opaque paint system.
Clear pine is fine for a straightforward interior frame, especially if the pieces are wide enough to select around defects. It is cheaper and readily available, but soft earlywood can compress under a sanding block or a sharp tool can leave dents. Avoid pressing hard while sanding; that can make the softer bands dip and leave a wavy painted surface. Finger-jointed pine can also be a practical buy for long runs, provided the joints are sound and you inspect the stock for raised glue lines or uneven faces.
For an exterior frame, do not treat “paint-grade” as a species specification. Choose material intended for the exposure, protect end grain, and keep the paint system maintained. Water entering through an unsealed joint or failed glazing edge can cause swelling and peeling regardless of how smooth the wood was before painting.
Prepare the surface for crisp edges
Start with dry, flat stock. Aim for roughly 6–8% moisture content indoors, or at least let the lumber acclimate in the room before fitting it. Wood that is too wet can shrink after painting, opening joints or exposing unpainted lines. Cut and dry-fit the frame before finishing; sharp paint cannot disguise a poor miter or a gap.
Sand flat faces with 120- or 150-grit paper, then finish at 180 grit. Going much finer can burnish some woods and reduce primer grip. Break only the sharpest arris with a light pass—about one stroke with 180-grit paper. A heavily rounded edge makes paint look soft and can leave a visibly uneven border where the frame meets glass or wall.
Fill nail holes and small defects with a paintable wood filler, then sand flush after it dries. Do not use filler to bridge a moving joint. For gaps at trim-to-wall joints, use a paintable caulk after the frame is installed; for tight miter joints, correct the fit or use an appropriate woodworking adhesive rather than relying on surface caulk.
Prime before the finish coats
Use a primer suited to the wood and paint system. A quality water-based bonding primer is convenient for clean, knot-free poplar and pine. For knots or resinous spots, seal them first with a shellac-based knot sealer or stain-blocking primer; otherwise, yellow or brown stains may bleed through later. Let each coat dry for the time stated on its label, and sand primer lightly with 220 grit to remove raised grain and dust nibs.
Apply two thin finish coats rather than one heavy coat. Thick paint tends to round over edges, sag at inside corners, and bridge small details. A small angled sash brush gives control on narrow profiles; a fine-finish mini roller can speed up broad flat sections, followed by light brush tipping if needed. Keep paint out of tracks, hinges, drainage paths, and weatherstripping. If painting near glass, use a steady masking line or a sharp scraper after the paint has cured, taking care not to cut into the wood or damage seals.
For supplies, compare a paint-grade poplar board with clear pine available locally; shipping can erase the price advantage. A shellac-based stain-blocking primer is useful when knots or resin are present, while a paintable wood filler handles small stationary defects.
Common causes of soft or failed edges
Most fuzzy-looking edges come from rounding them too much, loading on paint, or sanding unevenly—not from choosing the wrong wood. Paint bleeding under tape can come from dust, a rough surface, or a poorly sealed tape edge. Press tape down firmly and remove it while the final coat is still slightly wet, unless the paint or tape instructions specify otherwise.
Peeling usually points to moisture, contamination, or inadequate preparation. Remove loose paint, clean oily or dusty surfaces, let the wood dry, and prime exposed areas before repainting. If the frame is repeatedly wet or the wood is soft, fix the water source and replace damaged material; another coat of paint will only hide the problem temporarily.


0 Comments