What's inside
As an Amazon Associate I earn from qualifying purchases. This post may contain affiliate links at no extra cost to you.
MDF makes excellent cabinet doors, drawer fronts, and face-frame parts because it is flat, stable, and free of knots. Its weak point is exposed fiber. Cut edges absorb primer like a sponge, swell from water-based coatings, and often remain visibly rough after painting. The best paint system is therefore not just a color coat. It starts with a primer suited to MDF, careful edge preparation, and enough drying time between coats.
As an Amazon Associate we earn from qualifying purchases at no extra cost to you.


Our Top Picks
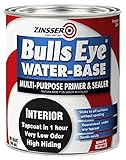
 Zinsser Bulls Eye Water-Base Primer & Sealer32 Fl Oz (Pack of 1)4.25 x 4.25 x 4.85 inches0 PoundsCheck on Amazon
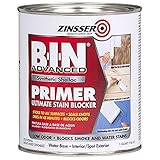
 RUST-OLEUM 1 qt Zinsser 271009 White Zinsser32 Fl Oz (Pack of 1)5.8 x 9.1 x 9.2 inches0.2 poundsCheck on Amazon
 Custom Shop 1K High Build Primer Spray Paint12 Ounce (Pack of 1)2.65 x 2.65 x 9.5 inches0 PoundsCheck on Amazon

The best overall paint system
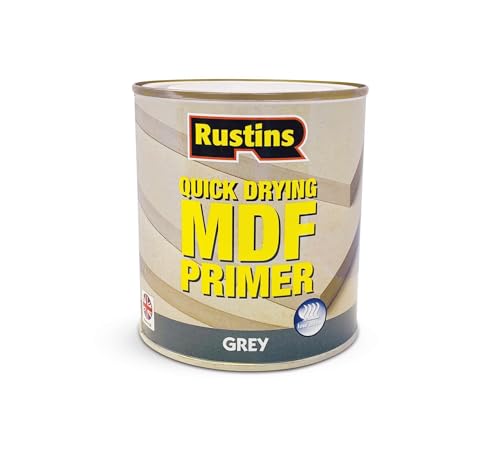
For most MDF cabinet components, use a high-build sanding primer or a shellac-based primer on the edges, followed by two coats of a durable waterborne cabinet, trim, or enamel paint. This combination seals the porous fibers without leaving the strong, lingering odor of an all-solvent system.
A good general-purpose choice is a waterborne cabinet paint over a compatible primer. It dries faster and cleans up with water, but it is less forgiving of poor sanding than oil-modified or solvent-based paint. Do not expect paint alone to hide a rough MDF edge.
For the most absorbent edges, a shellac-based primer sealer is usually the fastest route to a sealed surface. It dries in roughly 30 to 60 minutes under normal conditions and sands easily. The trade-off is strong odor, flammability, and cleanup with denatured alcohol or the cleaner specified on the label.
Primer choices compared
| Primer type | Best use | Advantages | Limitations |
|---|---|---|---|
| Shellac-based | Raw MDF edges and routed profiles | Excellent sealing, fast drying, sands well | Strong odor; solvent cleanup; can be brittle |
| Oil-based | Edges and large flat parts needing extra filling | Good holdout and leveling; inexpensive options available | Slow drying; odor; may take overnight to sand cleanly |
| High-build waterborne | Indoor cabinet bodies and prepared MDF | Low odor, easy cleanup, compatible with waterborne topcoats | May raise fibers; often needs two primer coats |
| Standard drywall primer | Only for low-cost, low-wear projects | Cheap and easy to find | Usually too porous and soft for cabinet edges |
Cheap drywall primer can be acceptable for the broad, already-smooth faces of MDF, especially on a utility cabinet or workshop project. It is a poor choice as the only sealer on cut edges. Those edges may drink in the primer, remain fuzzy, and telegraph a rough line through the finish.
Prepare the MDF before priming
Start with clean, dry material. Remove machining dust with a vacuum and a dry microfiber cloth. Avoid soaking MDF with a wet rag; water can swell the surface before you have sealed it.
Sand broad faces lightly with 180-grit paper. Factory MDF faces are already smooth, and aggressive sanding can expose softer fibers or create dips. Sand cut edges with 150-grit, then 180-grit. Break sharp corners with one or two light passes. A perfectly sharp painted corner chips easily, while a small eased edge holds paint better.
Inspect routed profiles and inside corners carefully. A round-over or routed door detail has more exposed fiber than a square edge and may need an extra primer coat. If the MDF edge is badly fuzzy, apply a thin skim of water-based wood filler or fine surface filler, let it dry, and sand it flush before priming. Do not apply a thick wet layer; excess filler can crack or shrink.
How to seal MDF edges
Prime all exposed edges first, brushing the sealer slightly onto the adjacent face. A foam roller or fine synthetic brush works well on straight parts. Avoid flooding the edge. A heavy coat can soften the fibers and create a swollen ridge, especially with water-based primer.
After the first coat dries, sand with 220-grit paper. The goal is to remove raised fibers, not to sand back to bare MDF. Apply a second coat to any edge that still looks dull or absorbs primer unevenly. On a raw cut edge, two or three thin coats are normal. The edge is ready when it has a consistent sheen and no fuzzy texture.
For a particularly smooth cabinet door, use a thin coat of high-build sanding primer after sealing. Let it dry fully, then sand with 240-grit paper or a fine sanding sponge. High-build primer can fill minor scratches, but it will not level deep saw marks without filler and repeated sanding.
Choose and apply the topcoat
Use a cabinet, trim, or furniture enamel rather than ordinary flat wall paint. Cabinet paint is formulated to resist blocking, the sticky tendency for painted doors to adhere when closed. Satin and semigloss finishes are practical for kitchens because they clean more easily than eggshell or matte finishes. High gloss shows every sanding defect.
Apply two thin coats rather than one heavy coat. Follow the label’s recoat time; many waterborne products need 2 to 4 hours, but cool or humid conditions can extend that substantially. Lightly sand between coats with 320-grit paper only if the surface has dust nibs or roughness. Remove all sanding dust before recoating.
A microfiber roller can produce a smooth finish on flat panels, while a quality synthetic brush is useful for edges and profiles. Spraying gives the most uniform result but requires masking, ventilation, and correct thinning or tip selection. If you stack or close freshly painted doors, wait at least several days. Some finishes feel dry in an hour but remain soft underneath for a week or more.
Common MDF painting failures
Swollen edges: Usually caused by too much water-based product or inadequate sealing. Sand the raised area flat, allow it to dry completely, and seal it with shellac or oil primer before rebuilding the finish.
Fuzzy edges after sanding: The primer was sanded away or the edge received only one thin coat. Reprime, let it dry, and sand more gently with finer paper.
Peeling paint: This usually means dust, oil, an incompatible primer, or insufficient drying time. Clean the surface, remove loose coating, and use a primer recommended for MDF and the selected topcoat.
Sticking doors: The paint has not cured, the coating is too thick, or the doors are rubbing. Adjust the hinges or sand the contact point, then allow more cure time before closing the cabinet.
For a budget shop cabinet, two coats of economical primer and a decent trim enamel are often enough. Spend more on a specialty cabinet coating when the doors are handled daily, the finish must level exceptionally well, or the project will be judged at close range.


0 Comments