What's inside
As an Amazon Associate I earn from qualifying purchases. This post may contain affiliate links at no extra cost to you.
Rough-sawn wood absorbs exterior stain quickly because its open, uneven surface exposes more fiber than planed lumber. That texture gives siding, fencing, beams, and outdoor furniture a rustic appearance, but it also makes lap marks, uneven color, and premature failure more likely. The job goes well when you control moisture, apply enough stain, and work in manageable sections.
As an Amazon Associate we earn from qualifying purchases at no extra cost to you.


Our Top Picks
Choose the Right Exterior Stain
Use a stain labeled for exterior wood. Interior stain, craft stain, and standard polyurethane are not suitable substitutes. For most rough-sawn projects, a penetrating oil-based or water-based exterior stain is the practical choice. Solid-color stain is different: it behaves more like thin paint and hides much of the wood grain.
| Stain type | Best use | Advantages | Trade-offs |
|---|---|---|---|
| Transparent or toner | Good-looking cedar, redwood, and other attractive wood | Shows grain and texture | Offers less UV protection; color may fade sooner |
| Semi-transparent | Most siding, fences, decks, and rough-sawn boards | Balances grain visibility, color, and protection | May look uneven on mixed or weathered wood |
| Solid-color stain | Older, mismatched, or heavily weathered wood | Hides color differences and provides strong UV protection | Can peel if applied too heavily or over a failing coating |
Oil-based stains generally soak deeply and are forgiving on thirsty wood, but they dry slowly and have stronger fumes. Water-based stains dry faster, clean up with soap and water, and are often easier for a homeowner to use. Whichever type you choose, buy enough for two coats only if the label specifically allows a second coat. Applying an extra coat to a product designed for one coat can leave a sticky or peeling film.
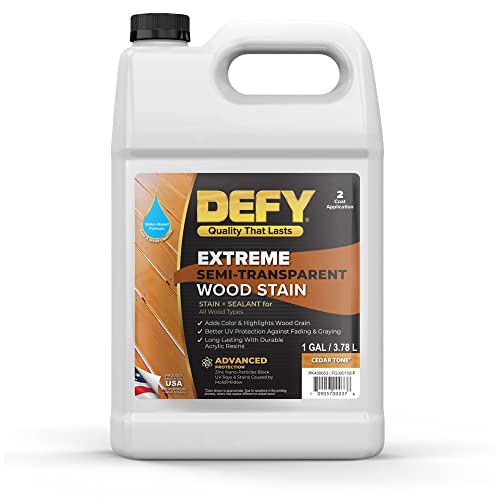
For a semi-transparent stain, a semi-transparent exterior wood stain is usually the sensible starting point. If the wood has severe color variation or old stain that cannot be removed, solid-color stain is often the cheaper way to get an even appearance.
Prepare the Rough-Sawn Wood
New lumber should be dry before staining. Use a moisture meter on several boards, not just one convenient spot. Aim for roughly 12% to 15% moisture for most exterior projects, and avoid staining when readings are above about 18%. Follow the stain maker’s limits if they are different. Wet wood prevents penetration and can trap moisture under the finish.
Remove dirt, mill dust, mud, mildew, and loose fibers. Brush the surface with a stiff nylon brush, then wash it with an exterior wood cleaner. A pressure washer can help, but keep the pressure moderate—approximately 500 to 1,200 psi on softwood—and keep the nozzle moving. Close, aggressive pressure can tear fibers, create wand marks, and drive water into joints.
Rinse thoroughly and allow the wood to dry for at least 24 to 72 hours, depending on weather and board thickness. Do not stain simply because the surface feels dry. Check the moisture content again, especially in shaded areas and end grain.
Rough-sawn wood usually should not be sanded smooth. Sanding removes the texture that makes the material attractive and can reduce stain absorption. If there are splinters or raised fibers, knock them down lightly with 80- or 100-grit paper. A coarse wood sandpaper is sufficient; do not polish the surface with fine grits.
Check the Weather and Test the Color
Choose a dry, calm day with temperatures within the product’s specified range, commonly between 50°F and 90°F. Avoid direct, intense sun when possible. Hot boards can make stain flash-dry before it levels, while cool, damp weather extends drying time. Do not stain if rain, heavy dew, or freezing temperatures are expected during the drying period.
Test the stain on an offcut or an inconspicuous section. Rough-sawn wood often appears much darker than the color on a smooth sample board because it absorbs more finish. Test the actual application method too: brushing, rolling, or spraying can produce different color and coverage.
Apply the Stain Correctly
Stir the stain slowly from the bottom. Do not shake it, because shaking can introduce bubbles. Start at the top of vertical work and work downward. On siding, stain one or two boards at a time from end to end. Keep a wet edge and stop at natural breaks such as corners, trim, or board ends. If you stop in the middle of a board, the overlap can remain visible.
A brush gives the best control on rough-sawn surfaces. Use a wide exterior stain brush and work the finish into valleys, checks, and board joints. A roller can cover large areas faster, but back-brush immediately to push stain into the texture. Spraying is fast for fences and large siding jobs, but it requires masking, overspray control, and back-brushing. Spraying alone often leaves shallow coverage on the rough surface.
Apply a generous, even coat without leaving puddles. Pay special attention to end grain, cut ends, exposed fastener areas, and horizontal ledges. These locations absorb water first and commonly fail before the field of the board. Apply end-grain sealer or extra stain as permitted by the product directions, but do not create glossy pools.
Avoid Common Staining Failures
Lap marks usually come from working in direct sun, applying too much stain, or allowing one section to dry before the adjacent section is blended. Uneven color can result from dirty wood, different board species, mixed moisture levels, or spot repairs. A strong cleaner and an adequate drying period solve some problems; they cannot make very different boards look identical.
Peeling generally means the surface was sealed by a film-forming product, contaminated, damp, or overloaded with stain. Scrape and clean failing areas before recoating. Do not apply new stain over loose finish. If the wood is badly weathered, solid-color stain may cover it better, but preparation still matters.
Let the finished surface dry according to the label before light use, rain exposure, or replacing furniture. Keep leftover stain sealed and labeled. Inspect exterior wood annually, especially south- and west-facing sides. Recoat when the color has faded and the wood begins to absorb water readily, rather than waiting for widespread peeling or cracking.



0 Comments