What's inside
As an Amazon Associate I earn from qualifying purchases. This post may contain affiliate links at no extra cost to you.
Choosing the right sandpaper grit for wood filler depends on the filler’s hardness, how much material you need to remove, and the finish going over it. For most repairs, the practical sequence is 80 or 100 grit to level the patch, 120 grit to remove scratches, and 180 grit to prepare for paint or stain. You may need 220 grit for a particularly smooth painted surface, but sanding filler with very fine paper too early is slow and can polish the patch instead of flattening it.
As an Amazon Associate we earn from qualifying purchases at no extra cost to you.

Our Top Picks
 Aqua Coat Water-Based Clear Wood Grain Filler GelPint3.55 x 3.55 x 4.2 inches1.14 PoundsCheck on Amazon
The best starting grit for wood filler
Start with 80 grit when the filler is raised above the surrounding wood, the repair is large, or the filler has dried very hard. Coarse paper cuts quickly and keeps you from spending several minutes rubbing one high spot. It is especially useful for epoxy filler, solvent-based filler, and repairs deeper than about 1/8 inch.
Use 100 or 120 grit when the filler is already close to flush. This is the best starting range for most small nail holes, screw holes, shallow dents, and water-based wood filler. It removes the remaining high spot without being unnecessarily aggressive on the surrounding wood.
Do not begin with 180 or 220 grit if the patch is visibly proud. Fine paper removes material slowly, and you are more likely to sand the nearby wood lower than the filler. That creates a shallow dish around the repair, which may show through stain or paint.
Wood filler sanding grit comparison
| Grit | Best use | What to watch for |
|---|---|---|
| 60–80 | Large patches, hard filler, substantial ridges | Leaves deep scratches; easy to cut into soft wood |
| 100–120 | General leveling and most small repairs | May need a finer follow-up before finishing |
| 150 | Blending the repair into the surrounding surface | Too slow for a tall or oversized patch |
| 180 | Final preparation for most paint and many stains | Can expose a soft filler edge if you press hard |
| 220 | Very smooth painted surfaces and final touch-up | Does not efficiently flatten uneven filler |
A reliable sanding sequence
Let the filler dry or cure completely before sanding. Water-based filler may feel dry on top while remaining soft underneath, particularly in a deep hole. Follow the container’s drying time, then allow extra time for thick repairs. If the paper clogs immediately or the filler rolls into gummy pieces, stop and wait longer.
For a typical repair, wrap 100- or 120-grit sandpaper around a sanding block and sand across the patch with light, even strokes. A block keeps the surface flat; sanding with loose paper and your fingertips can create a depression. Sand a wider area than the repair itself so the edges blend gradually into the wood.
Once the filler is level, switch to 150 or 180 grit. Sand just enough to remove the coarse scratches and soften the transition. Finish with 220 grit only when the surrounding wood has already been sanded to 220 grit or the coating requires an especially smooth surface. The repaired area should match the surrounding wood, not be dramatically smoother than it.
For hand sanding, a selection of assorted wood sandpaper grits is usually more useful than buying a large quantity of one grit. Aluminum-oxide paper is a dependable general choice. Mesh or premium abrasive sheets cost more but resist clogging and last longer on larger jobs.
Choose the tool for the repair
A sanding block is the safest choice for flat boards, cabinet doors, trim, and furniture panels. For a tiny nail hole, folded paper may be adequate, but use light pressure and feather the edges. A flexible foam sanding pad works well on moldings and curved parts because it follows the profile without creating sharp flat spots.
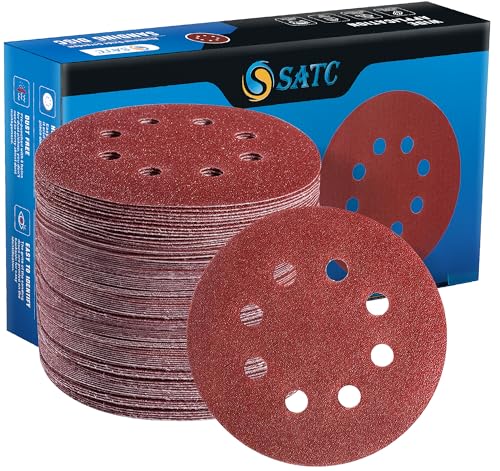
An orbital sander can level a large filler repair quickly, especially with 80, 100, or 120 grit discs. Keep it moving and use minimal pressure. Holding the sander in one place can create a circular low spot in the wood around the filler. For a few small holes, a power sander is usually unnecessary and may remove more surrounding finish than the repair justifies. If you need discs, buy 5-inch random orbital sanding discs in multiple grits.
Adjust the grit for the filler type
Ready-mixed water-based fillers are often softer than the wood around them. Begin at 120 grit unless the patch is high, then move to 180 grit. Pressing hard with coarse paper can dig out the filler and leave a visible hollow.
Solvent-based fillers and two-part epoxy fillers can cure harder than soft pine or poplar. Start at 80 or 100 grit for a raised patch, then work through 120 and 180 grit. On these fillers, a sharp wood scraper and putty knife set can remove a ridge before sanding and save abrasive paper.
Colored filler intended for stained wood may not accept stain in the same way as the surrounding board. Sanding to 220 grit will not correct a color mismatch. Test the stain on a scrap or hidden area first, and consider using a filler matched to the final stain rather than assuming sanding will make the patch disappear.
How to tell when the filler is smooth
Wipe away dust and inspect the repair under bright, angled light. Run your fingertips across it in several directions; your fingers often detect a ridge that your eyes miss. A clean cloth or vacuum is better than blowing dust into the air. If the patch is painted, apply primer before judging the result. Primer often reveals pinholes, edges, and remaining scratches that are hard to see on bare filler.
If you can still see 80-grit scratches after leveling, use 120 or 150 grit rather than jumping straight to 220. If the repair sinks after sanding, do not keep sanding around it. Add another thin layer of filler, let it dry fully, and repeat the leveling process. Thin applications shrink less and are easier to blend than one oversized fill.
When inexpensive sandpaper is enough
Cheap paper is perfectly suitable for a few nail holes or one small painted repair. Buy better, clog-resistant abrasive when sanding many cabinet doors, hard epoxy filler, or a large tabletop. The cheaper option is fine when the job is small and you can replace a sheet after it loads up. Regardless of price, clean the surface between grits and do not skip the intermediate grit: deep scratches left by 80 grit are difficult to hide under stain and can remain visible under a thin clear finish.



0 Comments